25 Do-It-Yourself Christmas Gift Ideas to Make
Choose a handmade Christmas gift by the supplies you have, the person receiving it and the time you can give it.
By Mustafa Demir
Updated November 20, 2026
Project at a glance
- Time
- Four small projects here, plus maker tutorials with different time and drying needs
- Cost
- Start with available supplies; check specialty materials before choosing a batch
- Skill
- Simple hand sewing, paper folding and knotting, plus options from other makers
- You make
- 25 different homemade Christmas gift ideas, including three gift baskets
A quick guide to this collection: Ideas 1–4 have complete materials and instructions on this page. Ideas 5–25 link to the original makers for the full projects. Start with the four complete projects, or jump to ideas 5–25 to browse the other gifts.
The best do-it-yourself Christmas gift ideas start with the person receiving them. A reader may appreciate a bookmark more than another decoration, while someone who enjoys tea might prefer a small basket they can use right away. Choose the job the gift will do first, then choose the craft.
This collection includes paper, felt, beads and other materials, with three different basket ideas for anyone who wants to combine small gifts. The first four projects have complete instructions here. The remaining 21 are credited selections with links to their makers’ project pages, where you can find the full method and any required patterns. Those makers’ photographs show their own finished results.
For a batch of ten, I’d choose one design and finish a single sample before cutting the rest. That catches a bead hole that does not fit doubled cord or an album fold that will not close. Save a little time for the note and wrapping: those tell the recipient what the handmade object is for.
| If you are choosing for… | Start with | What to check first |
|---|---|---|
| Someone who carries keys | Wood-bead keyring, idea 1 | Doubled cord fits, stopper is larger than bead holes |
| Someone who enjoys printed photos | Accordion album, idea 2 | Six pictures and seven usable panels |
| An adult hand sewer | Felt needle book, idea 3 | A tidy center seam; gift it empty |
| A reader or notebook user | Corner bookmarks, idea 4 | Thin paper and a pocket that opens |
| A larger or more specialized project | Maker selections, ideas 5–25 | The original tutorial, tools and any drying time |
Four small gifts with complete instructions
1. Three-bead wooden keyring
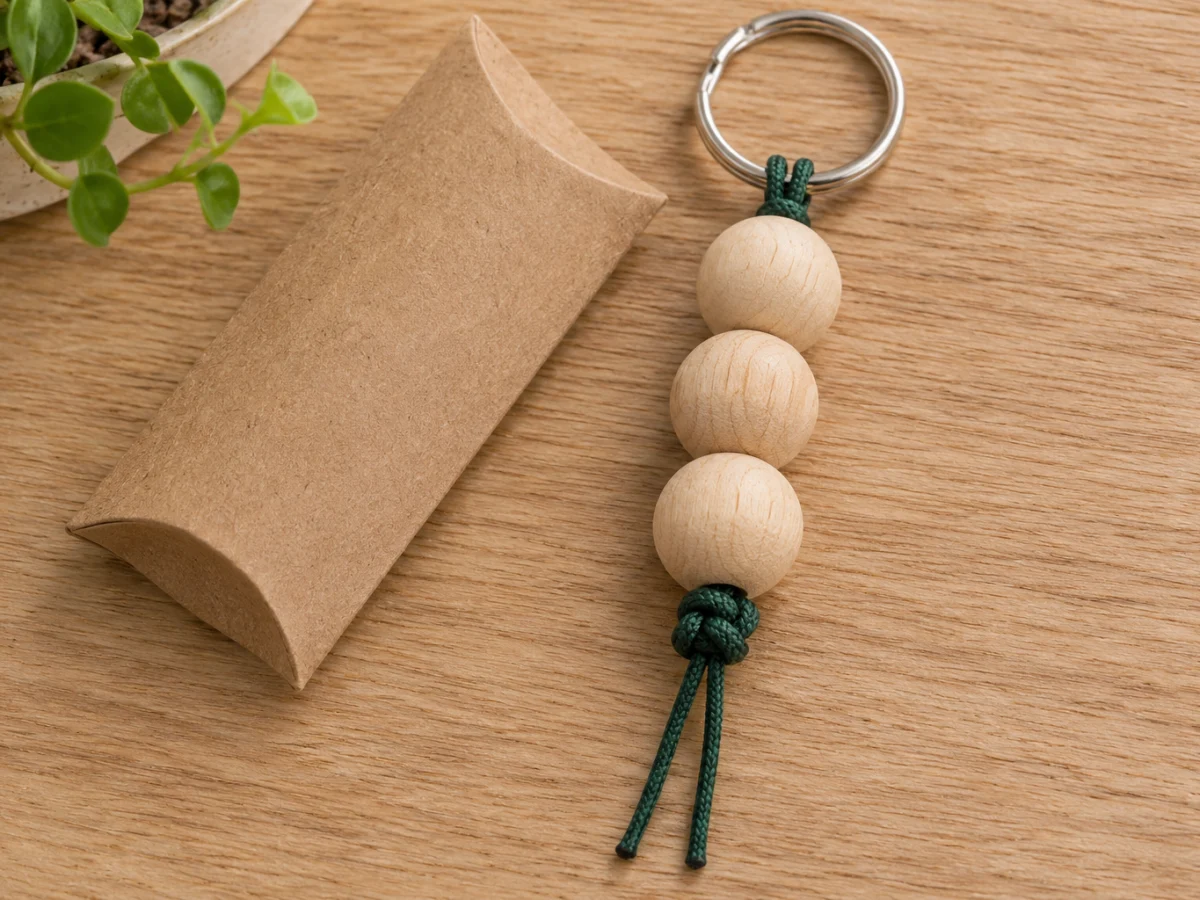
A short row of plain wood beads makes keys easier to spot without adding a large decoration. The important match is between the cord, the bead holes and the stopper knot. I’d keep the wood unfinished for this simple version rather than adding a coating that needs extra drying time. It is a small gift for someone who likes natural materials, and the neat cord finish does most of the visual work.
Materials
- One 1-inch split key ring
- One 20-inch length of 1 mm braided polyester cord
- Three unfinished round wood beads, 16–20 mm wide, with holes at least 3 mm wide
- Ruler and scissors
Make it
- Fold the cord in half. Push the folded loop through the ring, then feed both loose tails through that loop. Pull both tails together until the attachment sits snugly against the ring. This is a lark’s-head attachment. Keep the two tails even.
- Pass both tails together through the first bead, then the second and third. Slide the beads up close to the ring. The doubled cord should pass without force. If it jams, choose a bead with a larger hole rather than fraying the cord to push it through.
- Hold the beads together. Treat the two tails as one bundle, form a loop just below the last bead, pass both ends through the loop and tighten. This makes an overhand stopper. Before tightening completely, you can pass the ends through the same loop a second time to make a thicker double-overhand stopper. The finished knot must be wider than the bead hole.
- Pull firmly on each bead over a tray and check that none can pass over the knot. Check that the cord attachment stays snug on the ring. Once the stopper holds, trim the two tails to 1 inch below it. Package the keyring on a small card with the tails lying flat.
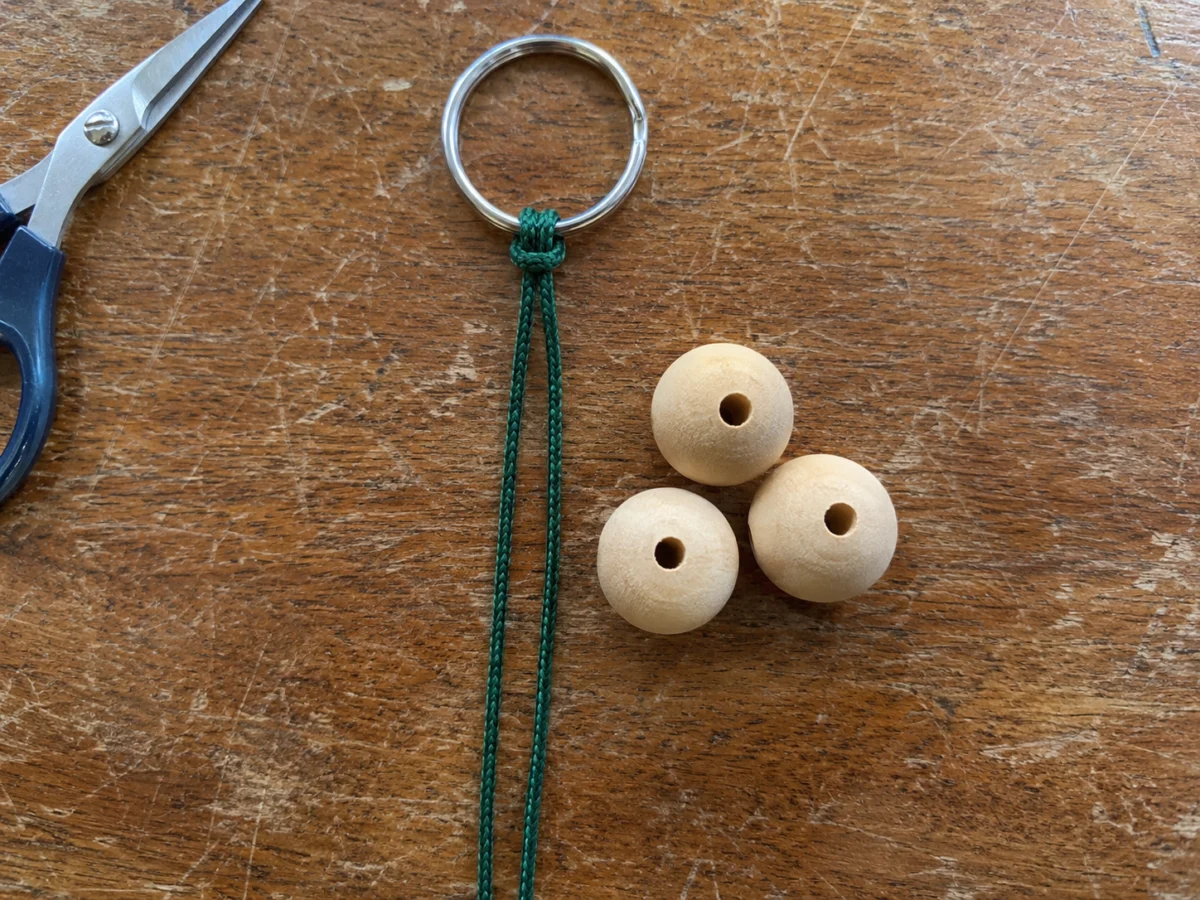
Check the stopper before trimming
A knot that slips inside the bead is too small, even if it looks tidy. Retie it as the thicker stopper or change the cord-and-bead combination, leaving enough tail to work. Do not rely on a drop of glue to correct an undersized knot. This decorative keyring is not a safety attachment or a support for heavy equipment. For other bead materials and project choices, see our bead crafts collection.
2. Accordion photo mini-album
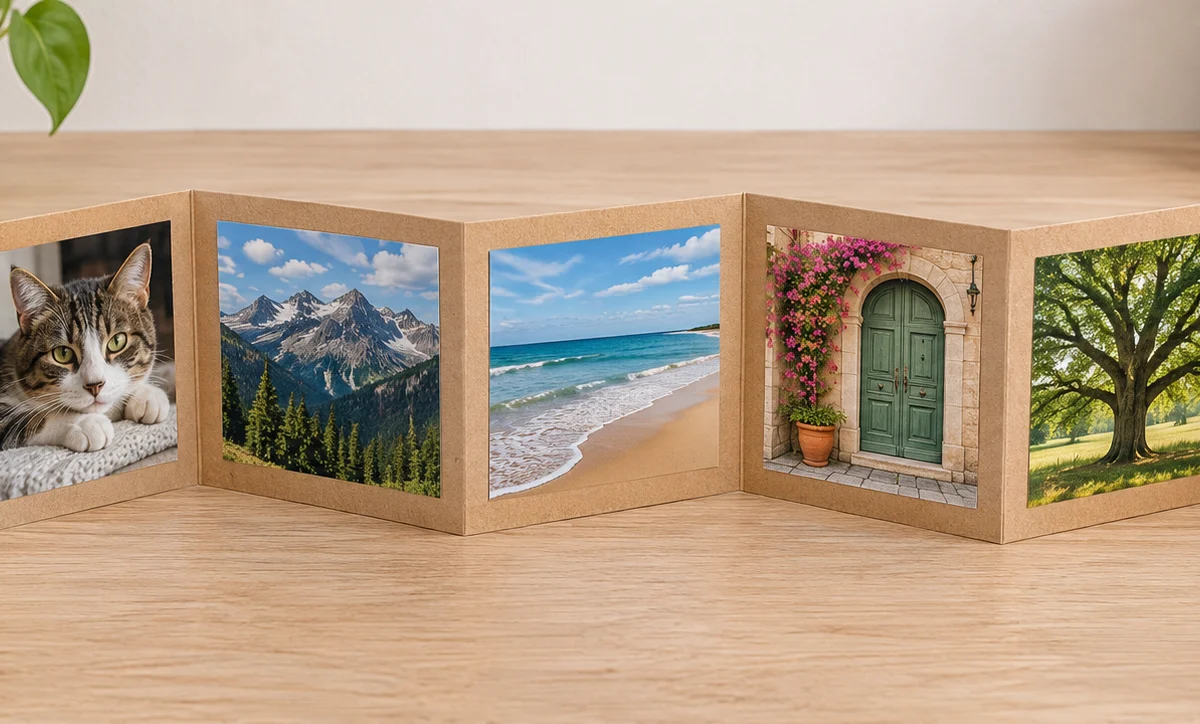
An accordion album gives a few printed pictures a place to stand together. This small version uses ordinary 12-inch cardstock, joined with one overlapping panel. That overlap matters: two four-panel strips make seven panels, not eight. I’d choose six related pictures and leave the remaining face for a title, so the finished gift tells one small story rather than trying to hold a whole camera roll.
Materials
- Two 12 × 3-inch strips of cardstock
- Ruler and scoring tool
- Full-panel double-sided paper adhesive
- Up to six photo prints, each trimmed to 2 1/2 inches square
- Optional: two 3 1/4-inch card squares for covers and 20 inches of narrow ribbon
Make it
- Mark each 12-inch strip at 3, 6 and 9 inches. Score across the full 3-inch width at each mark without cutting through the card. Fold along the scores in alternating directions, like an accordion. Each strip now has four 3-inch panels.
- Open the strips. Cover one end panel of the first strip with double-sided adhesive and align the first panel of the second strip directly over it. Press the entire square flat. The two overlapping panels count as one, leaving seven usable panels along the joined strip. Reverse a crease if needed so the folds alternate all the way through.
- Fold the empty accordion into its closed stack. Mark the outside front and back faces for the optional covers, then open it again. Arrange up to six 2 1/2-inch square pictures on interior faces before sticking them down. Leave about 1/4 inch clear around every print and keep pictures off the folds. Attach each print with photo-suitable adhesive, pressing it flat. Put a title on the outside cover rather than on a face reserved for cover attachment.
- For covers, center the closed stack on a 3 1/4-inch card square and attach the first end face. Center the ribbon across the back cover, then attach the album’s last end face over it to trap the ribbon beneath. Leave equal ribbon lengths at the sides. Open and close the album, then tie the ribbon loosely around the closed stack.
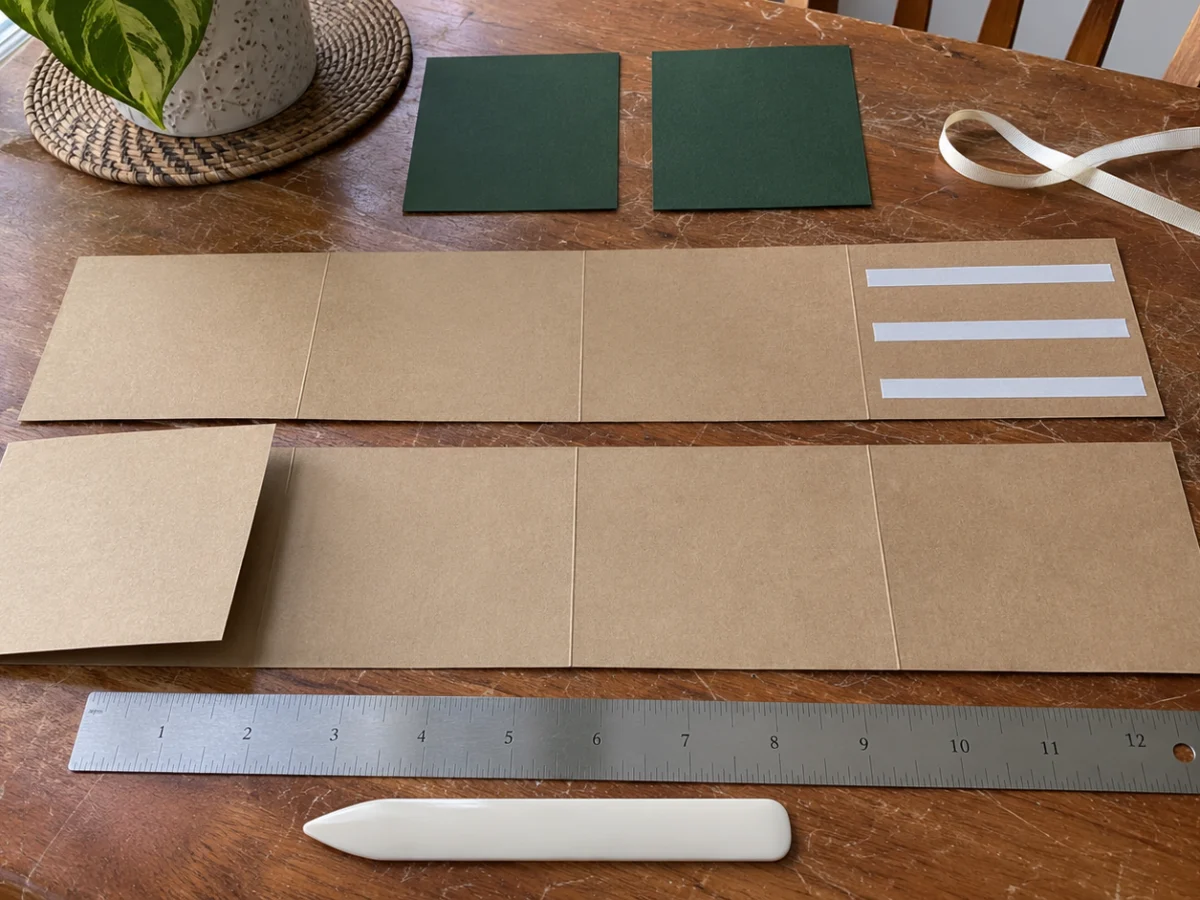
Keep the folds free
A picture bridging a crease prevents the album from closing neatly. Lift it carefully before the adhesive sets and move it inside one panel. Avoid thick raised decorations between the layers. If you use liquid adhesive, allow its stated drying time before closing the stack. Use your own or appropriately licensed photos; the illustrative article images do not supply personal pictures for the gift.
3. Hand-stitched felt needle book
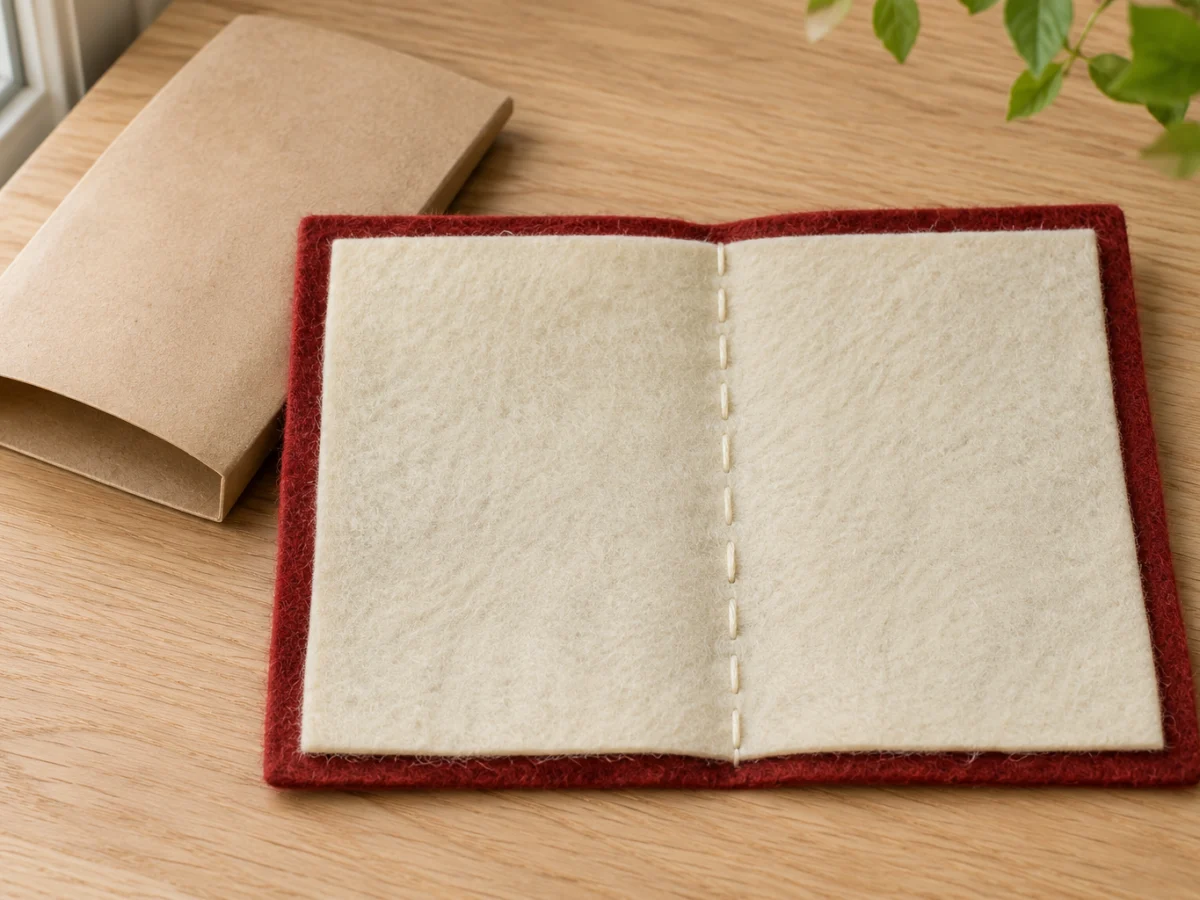
A needle book gives a hand sewer a soft place to organize needles during a project. Two rectangles of felt make a cover and one inner leaf, joined along a central spine. I’d give the book empty, with any new needles still in their labeled package beside it. That makes the contents easy to see and avoids an unexpected sharp point when the recipient opens the wrapping.
Materials
- One 4 × 6-inch rectangle of wool-blend craft felt for the cover
- One 3 1/2 × 5 1/2-inch rectangle of contrasting felt for the inner leaf
- Embroidery floss, needle, ruler, scissors and clips
- Optional: 20 inches of narrow ribbon for a tie
Make it
- Fold the 6-inch length of the cover in half, bringing its short edges together. The closed cover measures 3 × 4 inches. Open it and mark the center fold lightly. Fold the inner leaf the same way, then center it on the inside of the cover. A 1/4-inch border of outer felt should show around the inner rectangle.
- If adding a tie, center the 20-inch ribbon across the outside of the cover, perpendicular to the spine. Its midpoint should sit at the middle of the spine and its ends should reach toward the open fore-edge when folded. Attach only that midpoint with two small stitches before adding the inner leaf.
- Clip the open felt layers together. Thread a needle with a doubled length of embroidery floss and knot the end. Start inside the book about 1/8 inch inward from one end of the inner leaf’s center fold, hiding the knot between the layers. Sew running stitches along the center fold through both felt layers, making stitches and gaps about 1/4 inch long. Follow the inner leaf’s center fold and stop about 1/8 inch before its other end. The seam is about 3 1/4 inches long, with every stitch passing through both felt layers.
- At the end, take two small stitches at the same point. Before tightening each, pass the needle through the thread loop to secure it. Hide the tail between the layers and trim. Fold the book shut and tie the optional ribbon gently. Inspect both sides of the seam and remove the working needle before packing.
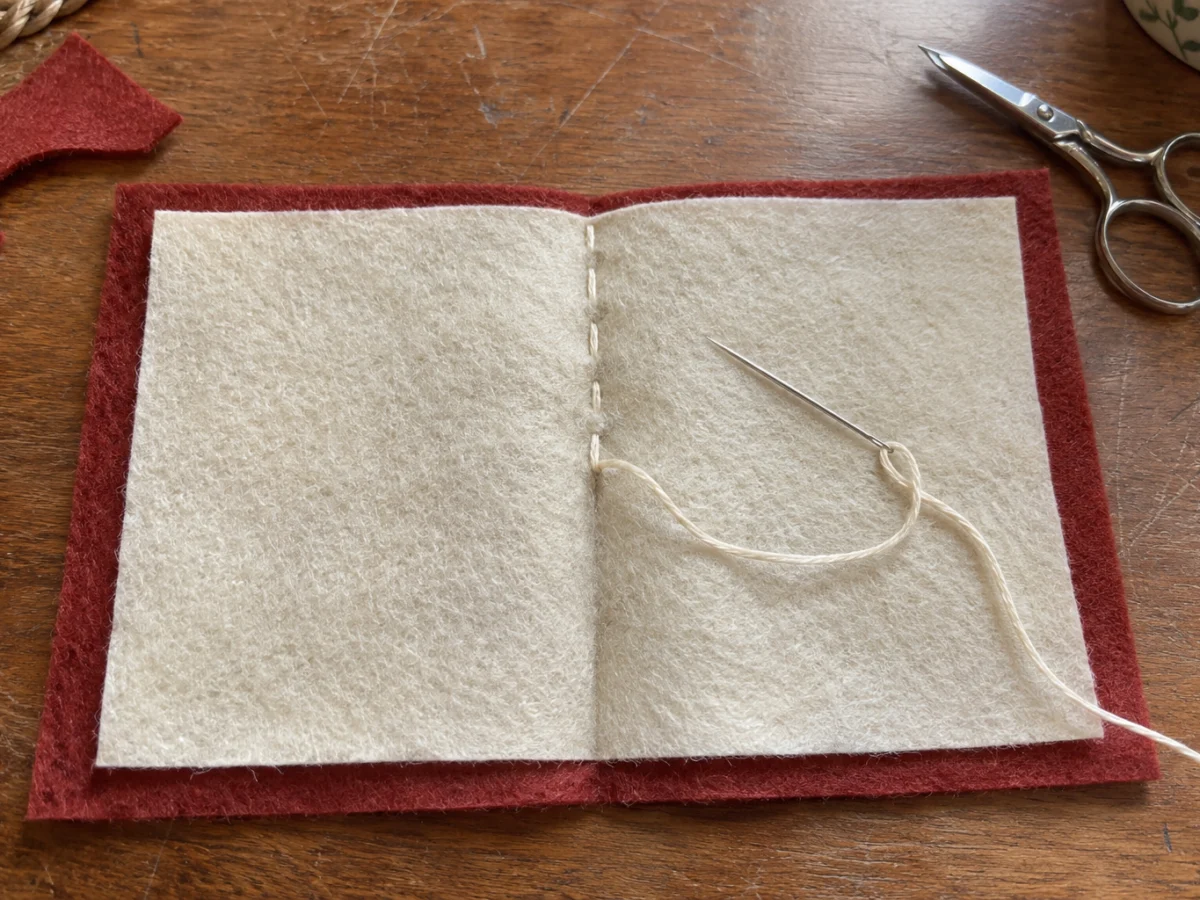
A useful gift for an adult sewer
The inner leaf should turn without dragging the cover out of shape. If the spine puckers, loosen or redo the tight section rather than pressing it flat with a heavy object. Do not add loose needles to a wrapped book. Include a note identifying its purpose, and let the recipient organize their own needles inside.
4. Paper corner bookmarks set
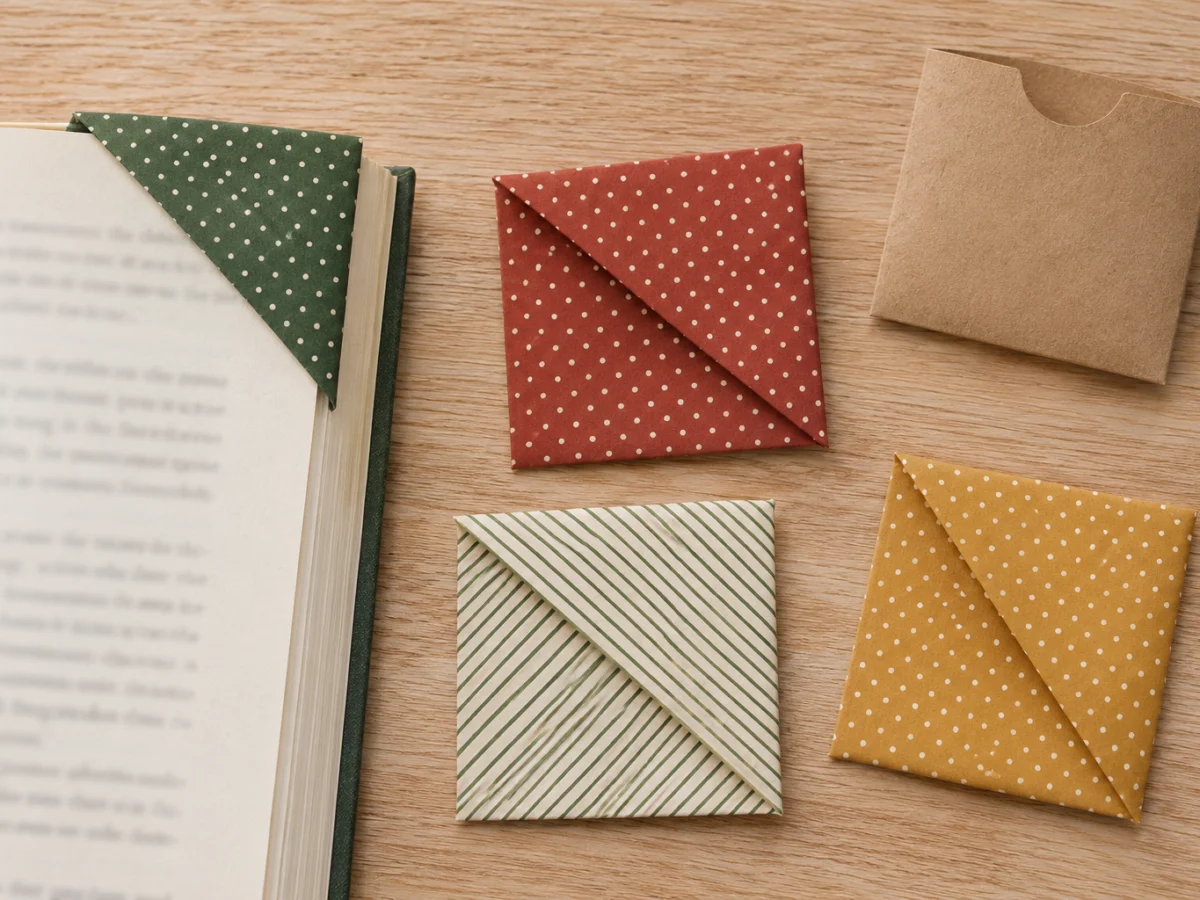
Four folded corner bookmarks make a small set for someone who keeps several books or notebooks going. Each one starts from a single square, with tucked flaps forming the pocket. I’d choose coordinating papers with different patterns so the recipient can tell them apart. Thin paper folds more neatly than heavy cardstock here, especially where the flaps overlap.
Materials
- Four 6-inch squares of lightweight patterned paper
- Ruler and scissors if cutting your own squares
- Optional: small flat paper initials and glue stick
- Scrap paper for a fit check
Make it
- Start with one square, patterned side down if only one side is printed. Fold it diagonally to make a triangle. Set the triangle with its long folded edge at the bottom and the point facing up. Bring the bottom left corner up to the top point and crease. Repeat with the bottom right corner. Open those two folds back out to the original triangle.
- Lift only the front layer of the top point. Fold that single layer down until its tip meets the midpoint of the long bottom edge. Crease it flat. The back layer stays upright. This folded-down triangle forms the front of the pocket.
- Bring the left bottom corner up to the top point again along its existing crease. Bend the tip down and tuck the flap inside the pocket, behind the front folded-down triangle. Flatten it carefully. Repeat with the right corner and tuck that flap into the same pocket. Smooth the finished square, which is about 3 inches on each side.
- Slide the pocket over the corner of scrap paper. The paper corner should reach the closed corner without force. Make the other three bookmarks the same way. If adding initials, glue only a small flat letter to the outside, keep glue away from the pocket, and let it dry fully. Gift the set in a paper sleeve or with a book.
1. Make the triangle
Fold one square diagonally. Keep the long folded edge at the bottom and the point facing up.
2. Crease and reopen
Bring both bottom corners to the top point, crease, then open both flaps back to the triangle.
3. Fold down one layer
Fold only the front top point to the bottom-edge midpoint. Leave the back point standing.
4. Tuck the left flap
Raise the left corner along its crease. Fold its tip down inside the pocket, behind the front triangle.
5. Tuck the right flap
Repeat with the right corner. Flatten the square pocket without gluing its opening shut.
6. Test the pocket
Turn it to match the page corner. Slide it onto scrap paper before gifting the set.
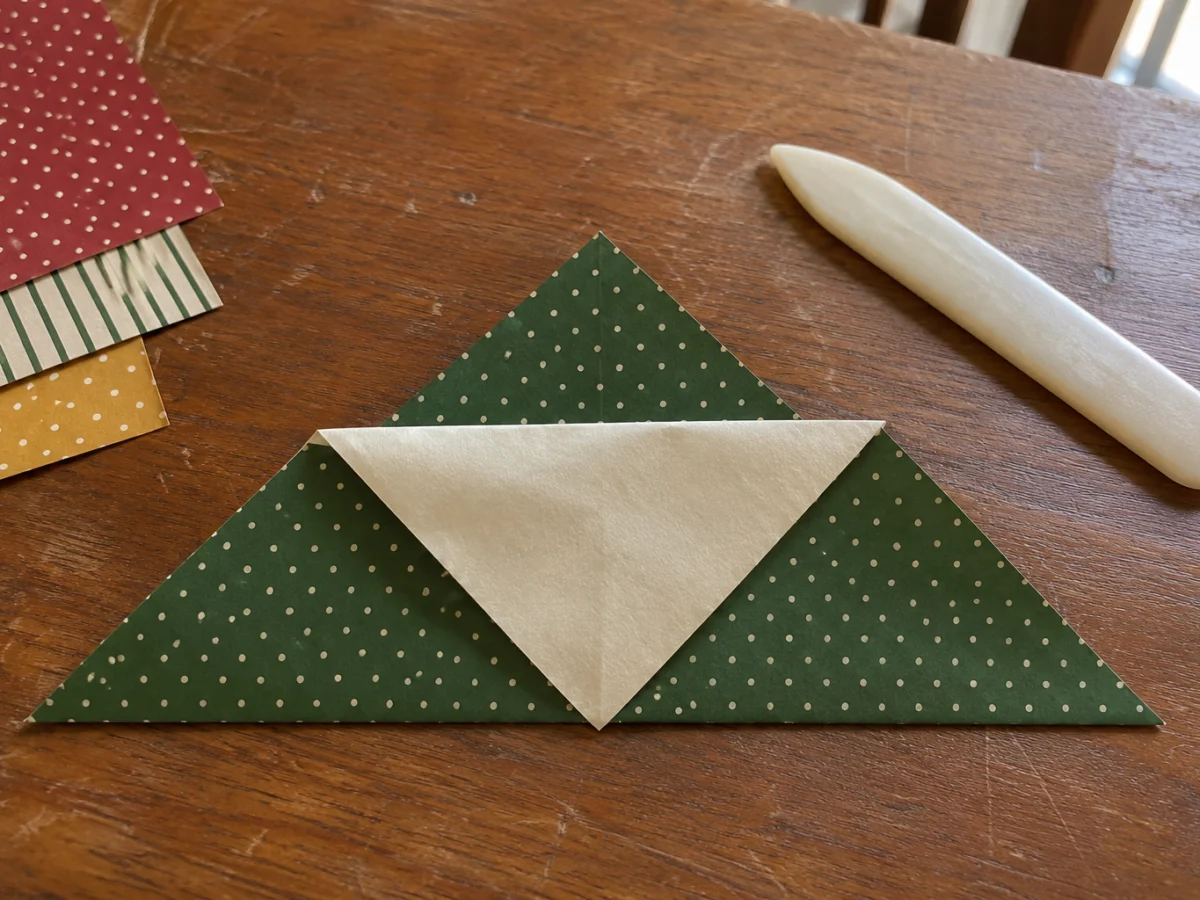
Fix a stubborn tuck
Open the flap and check that you folded down only one layer of the top point. If both layers were folded, the pocket cannot form correctly. Thick paper can also make the last tuck cramped; switch to lighter paper instead of forcing the fold. Avoid glitter, raised decorations and wet paint that could rub onto a page.
More handmade gifts from original makers
5. Fabric scrunchies
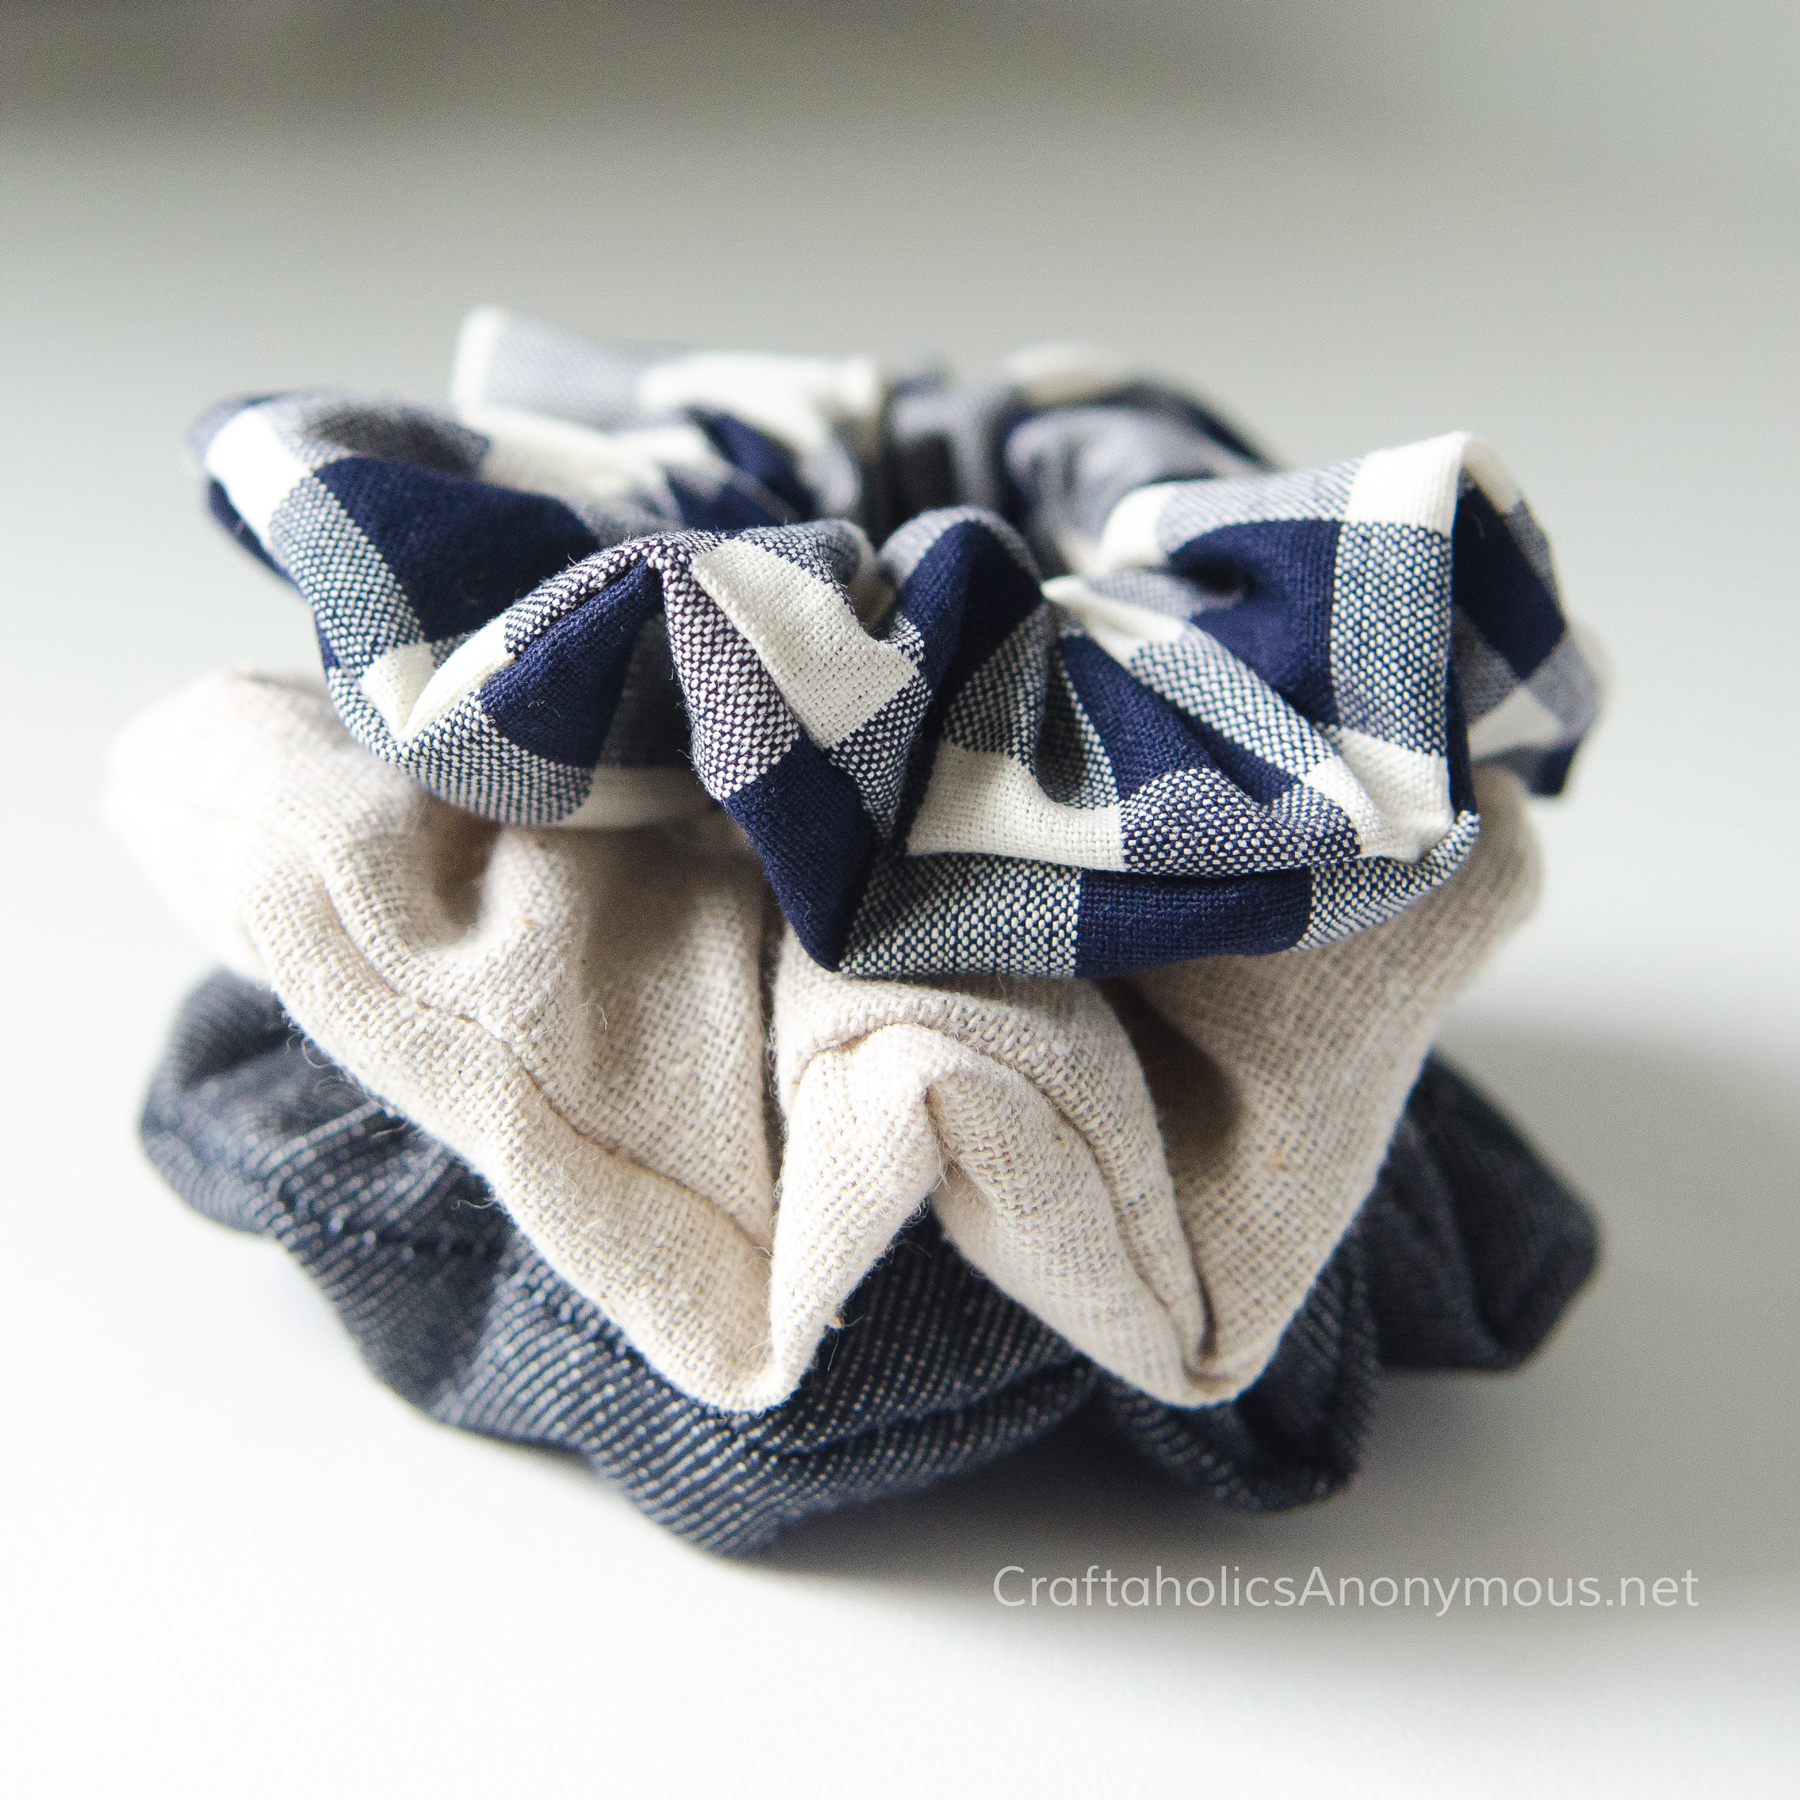
Original maker and photograph: Linda, Craftaholics Anonymous. Open the original tutorial
Linda’s scrunchies at Craftaholics Anonymous use a sewn fabric tube with elastic inside. They suit someone who already wears hair ties, and a few coordinated fabrics can make a useful set without changing the construction. The tutorial gives fabric and elastic lengths and shows how to turn the tube and close its opening. I’d start with a smooth, easy-to-sew fabric before trying slippery cloth. Check the elastic join before closing the final seam: that hidden connection takes the pull each time the scrunchie is used. This is a machine-sewing choice rather than a no-sew scrap project.
Key supplies: Fabric scraps, elastic, sewing supplies and a safety pin.
6. Fringed flannel scarf
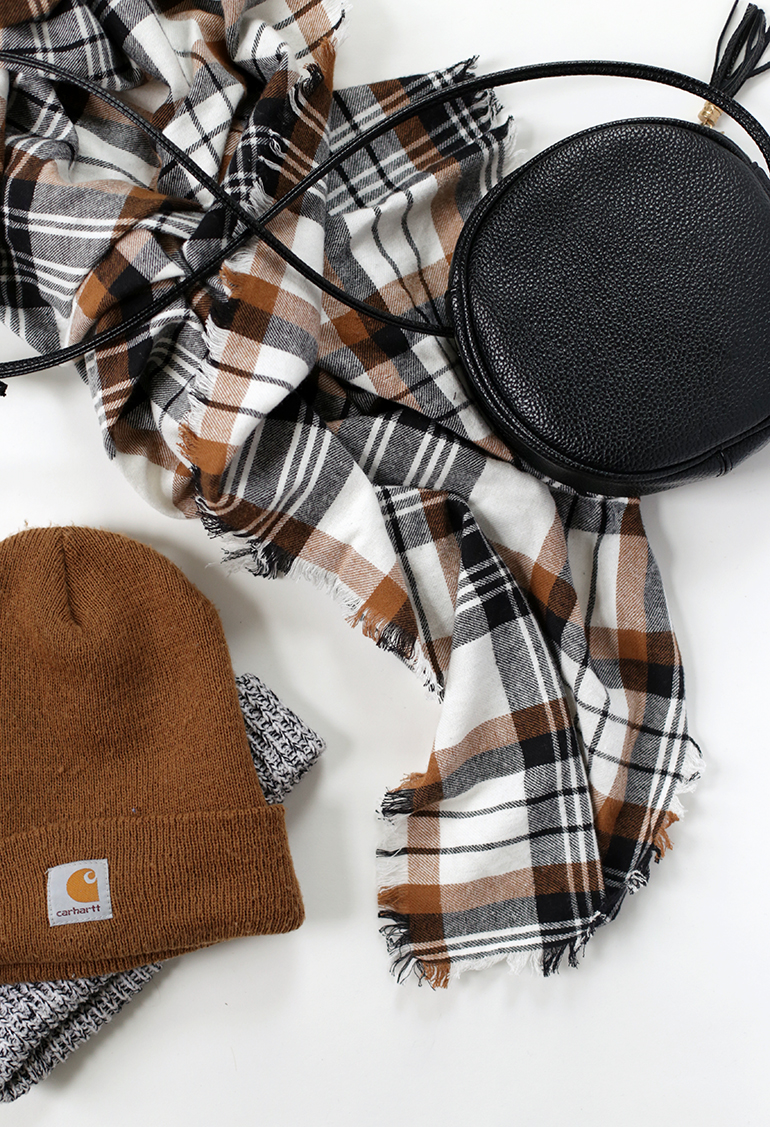
Original maker and photograph: Caitlin, The Merrythought. Open the original tutorial
Caitlin’s flannel scarf at The Merrythought turns a length of woven fabric into a wearable gift by removing edge threads to create fringe. It avoids a sewn hem, but pulling threads around the edges is still a real part of the work. I’d choose the fabric for the recipient’s usual coat instead of automatically choosing Christmas colors. Check the weave before buying: this technique depends on threads that can be separated, not a knit fabric that stretches and curls. Read the short original method for its edge preparation, then work the fringe gradually so the sides look intentional.
Key supplies: One yard of flannel, scissors and optionally a seam ripper.
7. Four-strand crochet tote
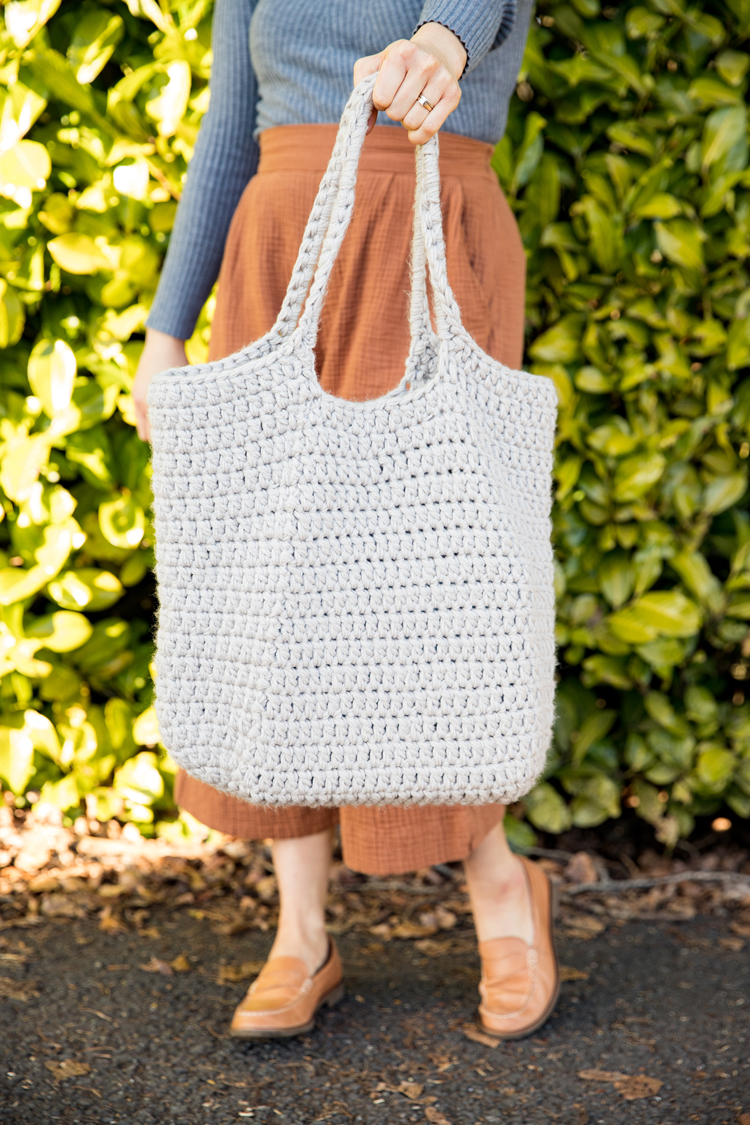
Original maker and photograph: Delia, Delia Creates. Open the original tutorial
Delia’s tote uses four yarn strands at once to build a substantial bag with integrated handles. It is a more involved gift for someone who enjoys a handmade carryall, and it is a sensible choice for a crocheter who already knows single and double crochet. Delia explicitly recommends learning those stitches with one strand first. I’d check the pattern’s gauge before committing to the full bag, because loose stitches change both the size and the body. The original includes a written round-by-round pattern and video. Weave in each tail separately as directed rather than hiding a loose bundle inside.
Key supplies: About 1,100 yards of worsted-weight yarn divided among four skeins, a 9 mm hook and a yarn needle.
8. Embroidered dish towels
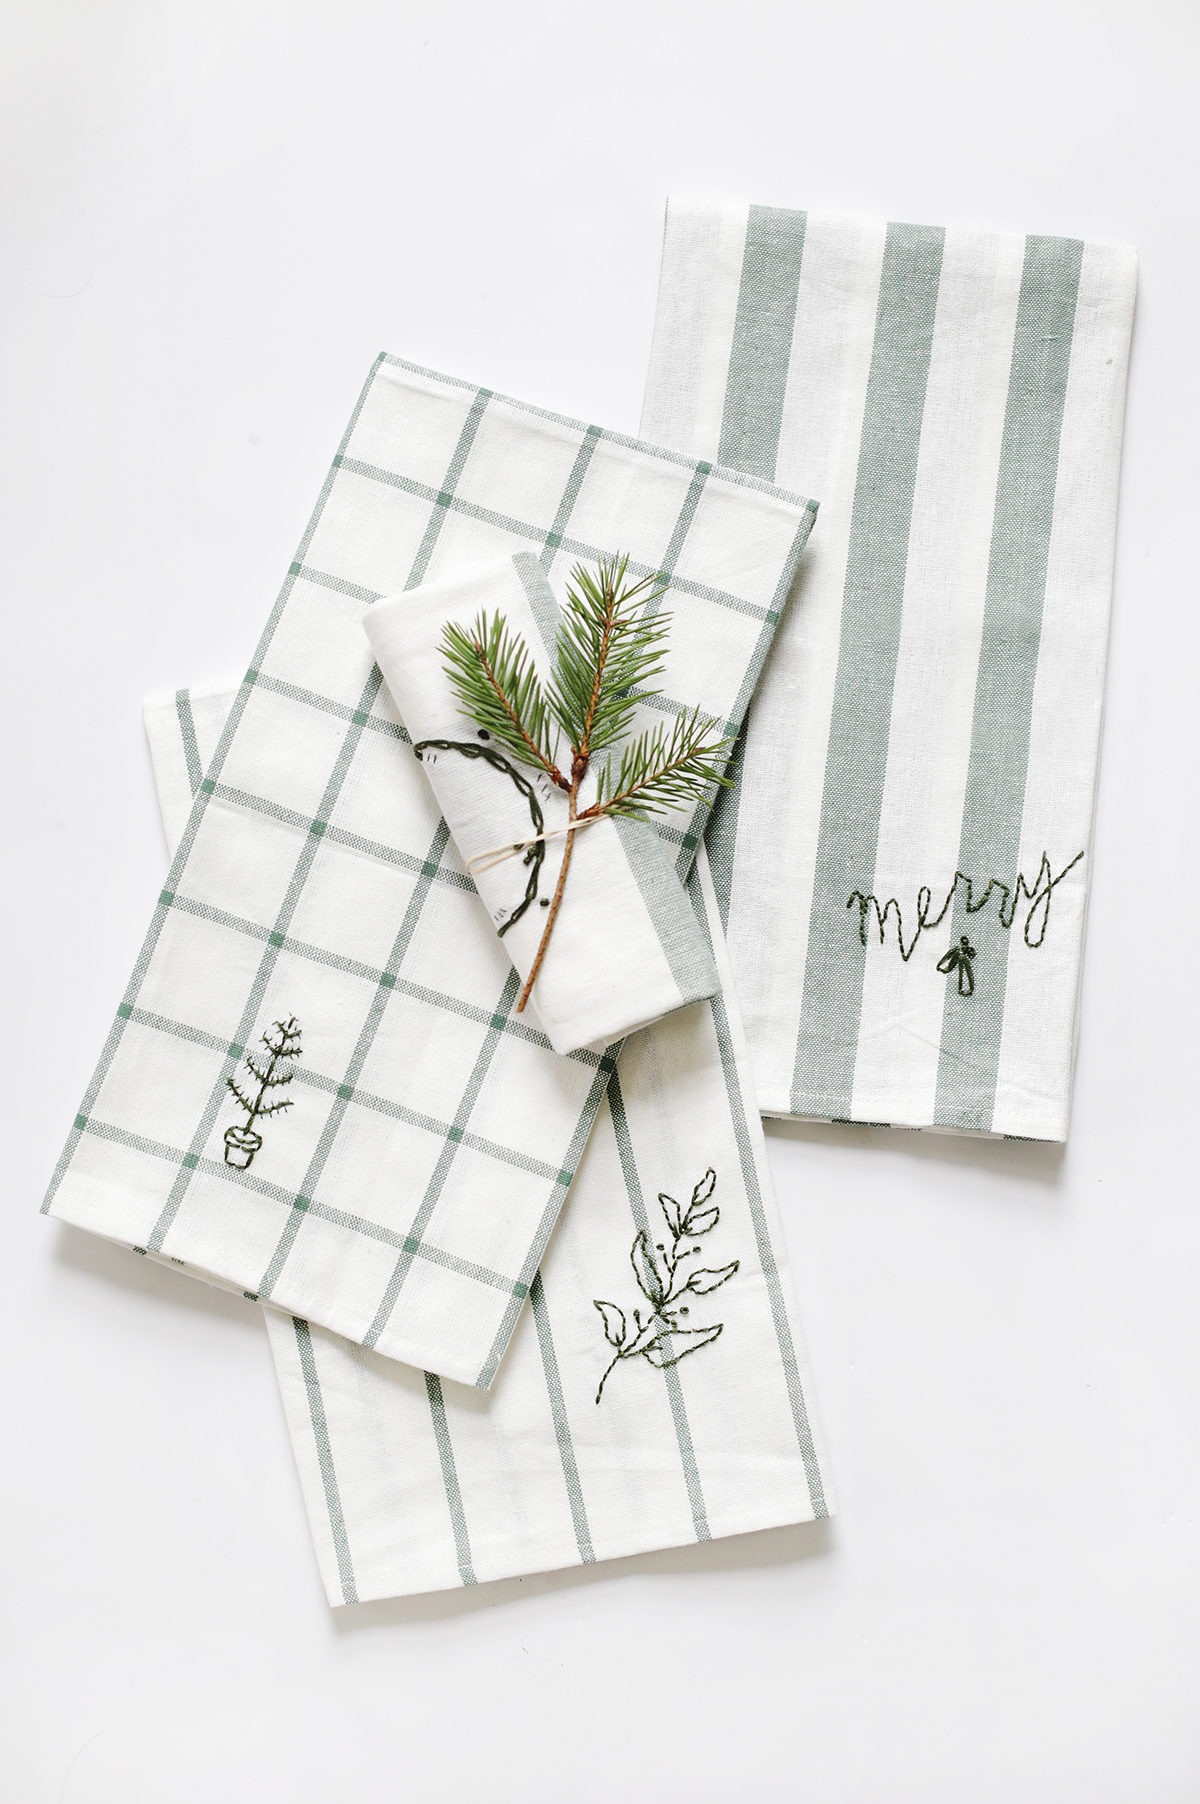
Original maker and photograph: The Merrythought. Open the original tutorial
The Merrythought’s embroidered towels put the handmade work into a practical everyday textile. A simple design can make sense for someone whose kitchen style you know, especially when you choose a towel color they already use. I’d keep the design modest and the reverse tidy rather than filling the cloth with dense stitching. The original teaches its embroidery through an embedded video, so watch it before choosing a motif if you need help with the stitches. Match any care note to the actual towel and floss labels. A decorative stitch does not establish that every color can be bleached or washed hot.
Key supplies: Plain dish towels, embroidery floss, embroidery needles and a hoop.
9. Stamped leather coasters
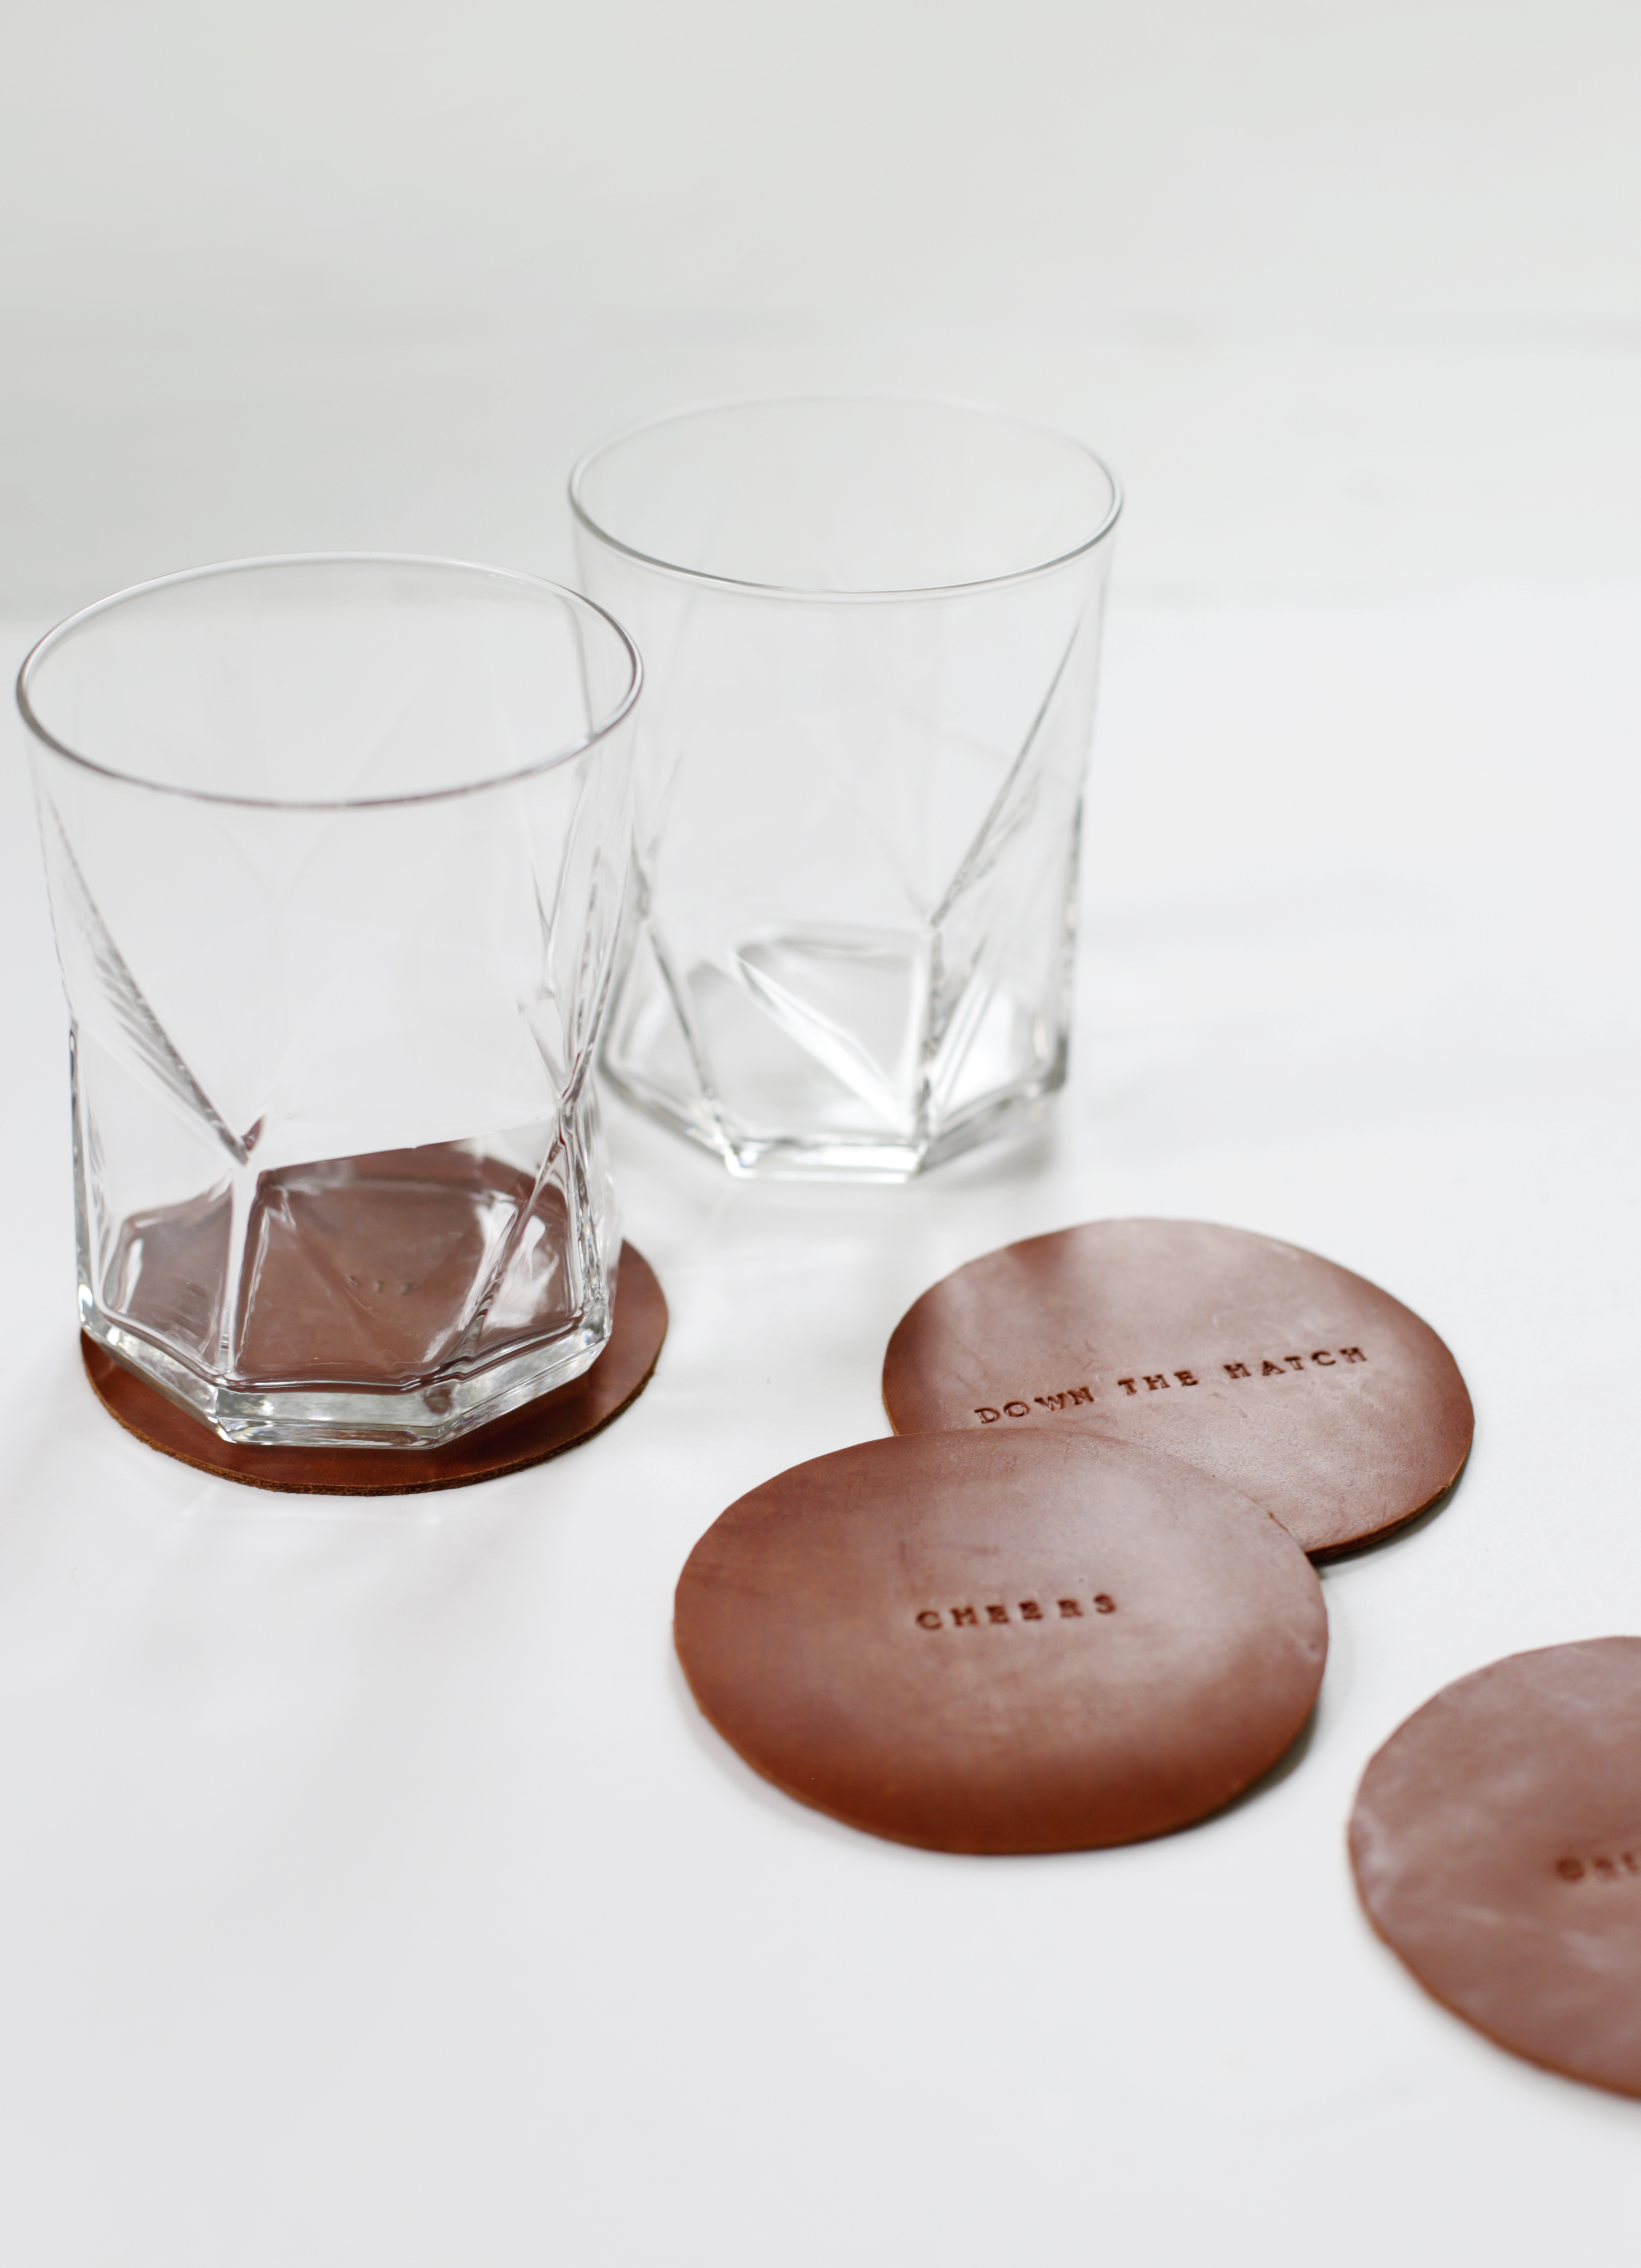
Original maker and photograph: The Merrythought. Open the original tutorial
Caitlin’s leather coasters at The Merrythought use cut circles and stamped lettering, with a leather finish applied according to its label. The appeal is a small coordinated set with a short message rather than a large painted design. I’d choose this when the stamping tools are already available or likely to be used again. Read the original for the stamping and finishing route, and practice the letter spacing on a scrap before touching the gift pieces. Follow the finish’s curing instructions before stacking or wrapping. These are coasters, not trivets for hot cookware, and the materials do not support that substitution.
Key supplies: Leather, scissors, a leather stamp kit, hammer, leather sheen and a lint-free cloth.
10. Simple quilted throw
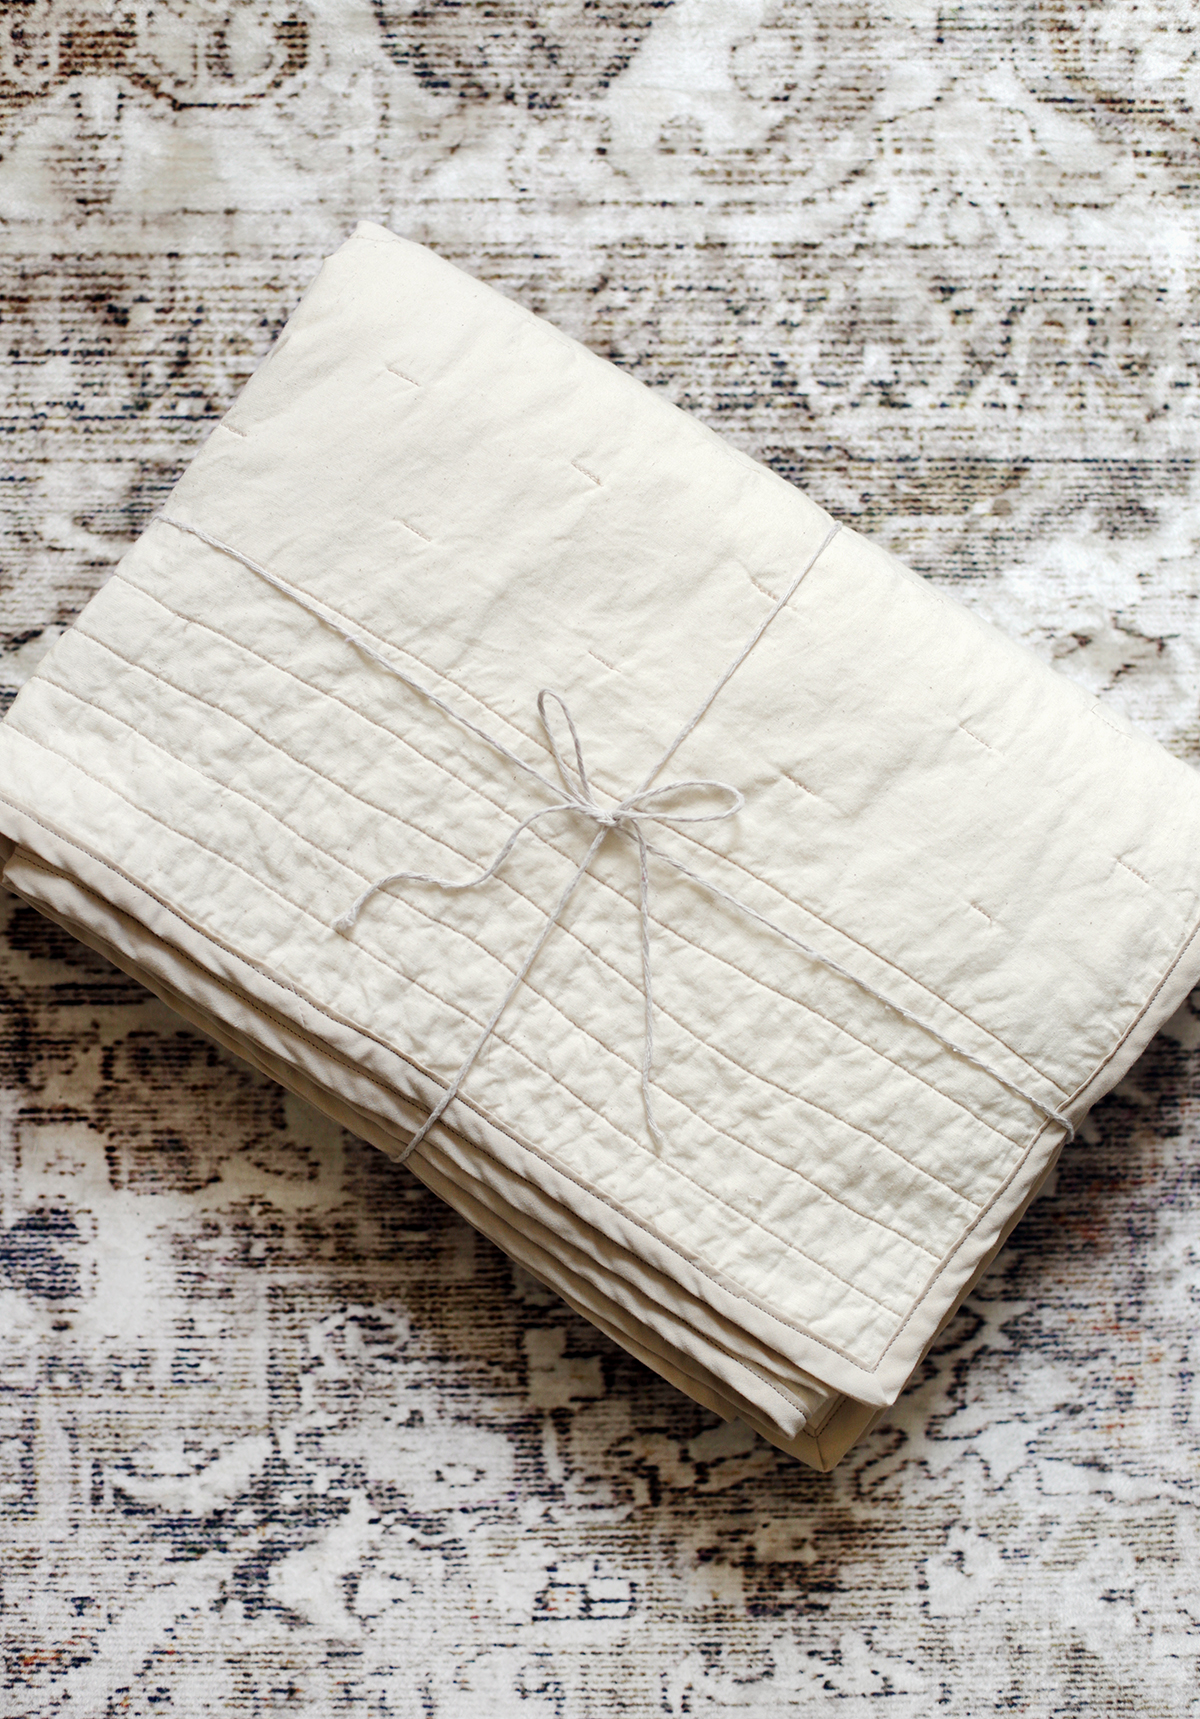
Original maker and photograph: The Merrythought. Open the original tutorial
The Merrythought’s simple quilted throw gets its texture from stitching through layered fabric and batting rather than piecing a complicated quilt top. It suits a gift you want to spend more time on, especially if the recipient uses a small throw while reading. The original explains its stitching and the bias-tape edge, including joining lengths and turning corners. I’d read that binding section before cutting fabric so the last stage is planned too. Choose the finished size first, then check your fabric width and batting requirements. Do not borrow the maker’s afternoon timing as a promise for a first attempt.
Key supplies: Front and back fabric, batting, double-fold bias tape, thread, pins and a sewing machine.
11. Linen-wrapped photo mat
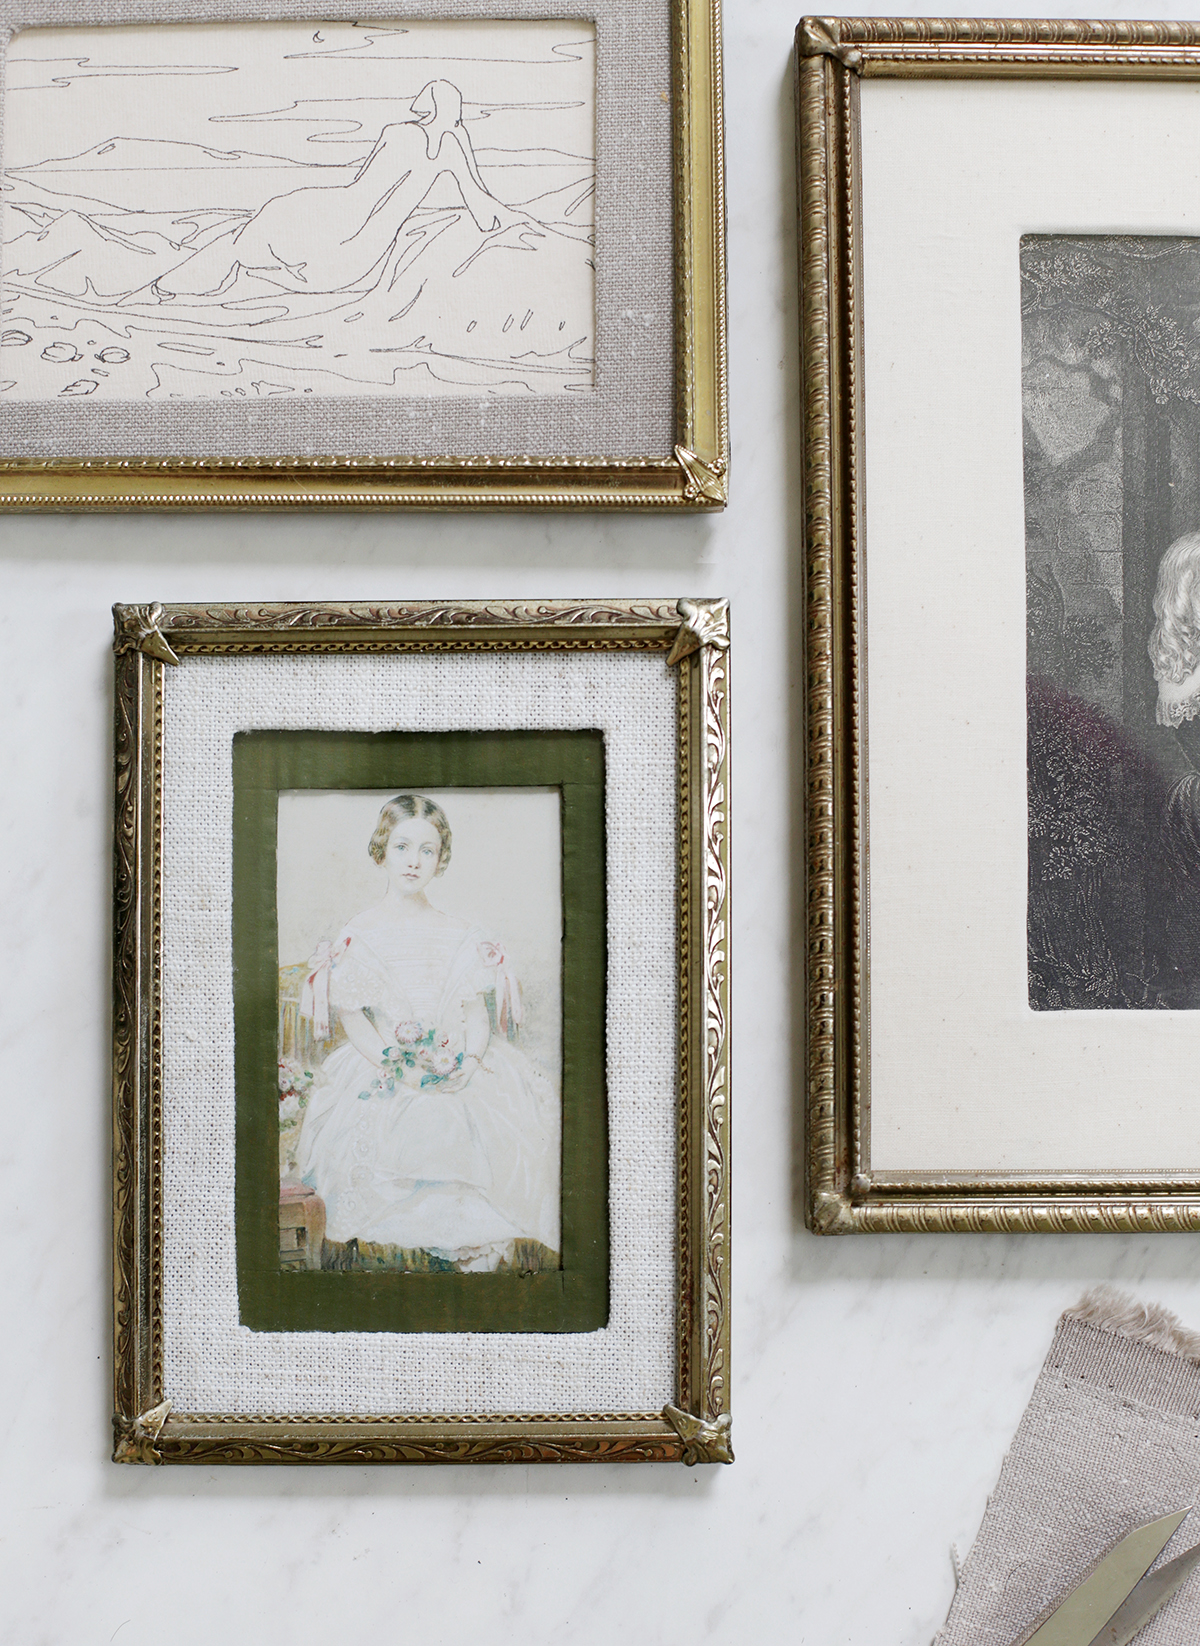
Original maker and photograph: Caitlin, The Merrythought. Open the original tutorial
A linen-covered mat adds texture around a photograph without putting decoration over the picture itself. The Merrythought demonstrates the fabric wrapping in a video and lists cardboard as an option for making a new mat. I’d choose this for a frame that you already have and measure the opening against the intended print before cutting. Keep the photograph clear of exposed adhesive. For an irreplaceable or valuable original picture, use suitable archival framing materials rather than assuming ordinary cardboard and craft spray are conservation safe. A copy of a personal photo is the more forgiving gift choice here.
Key supplies: A photo mat or cardboard, linen, spray adhesive, ruler, scissors and a craft knife.
12. Wood-slice photo ornament
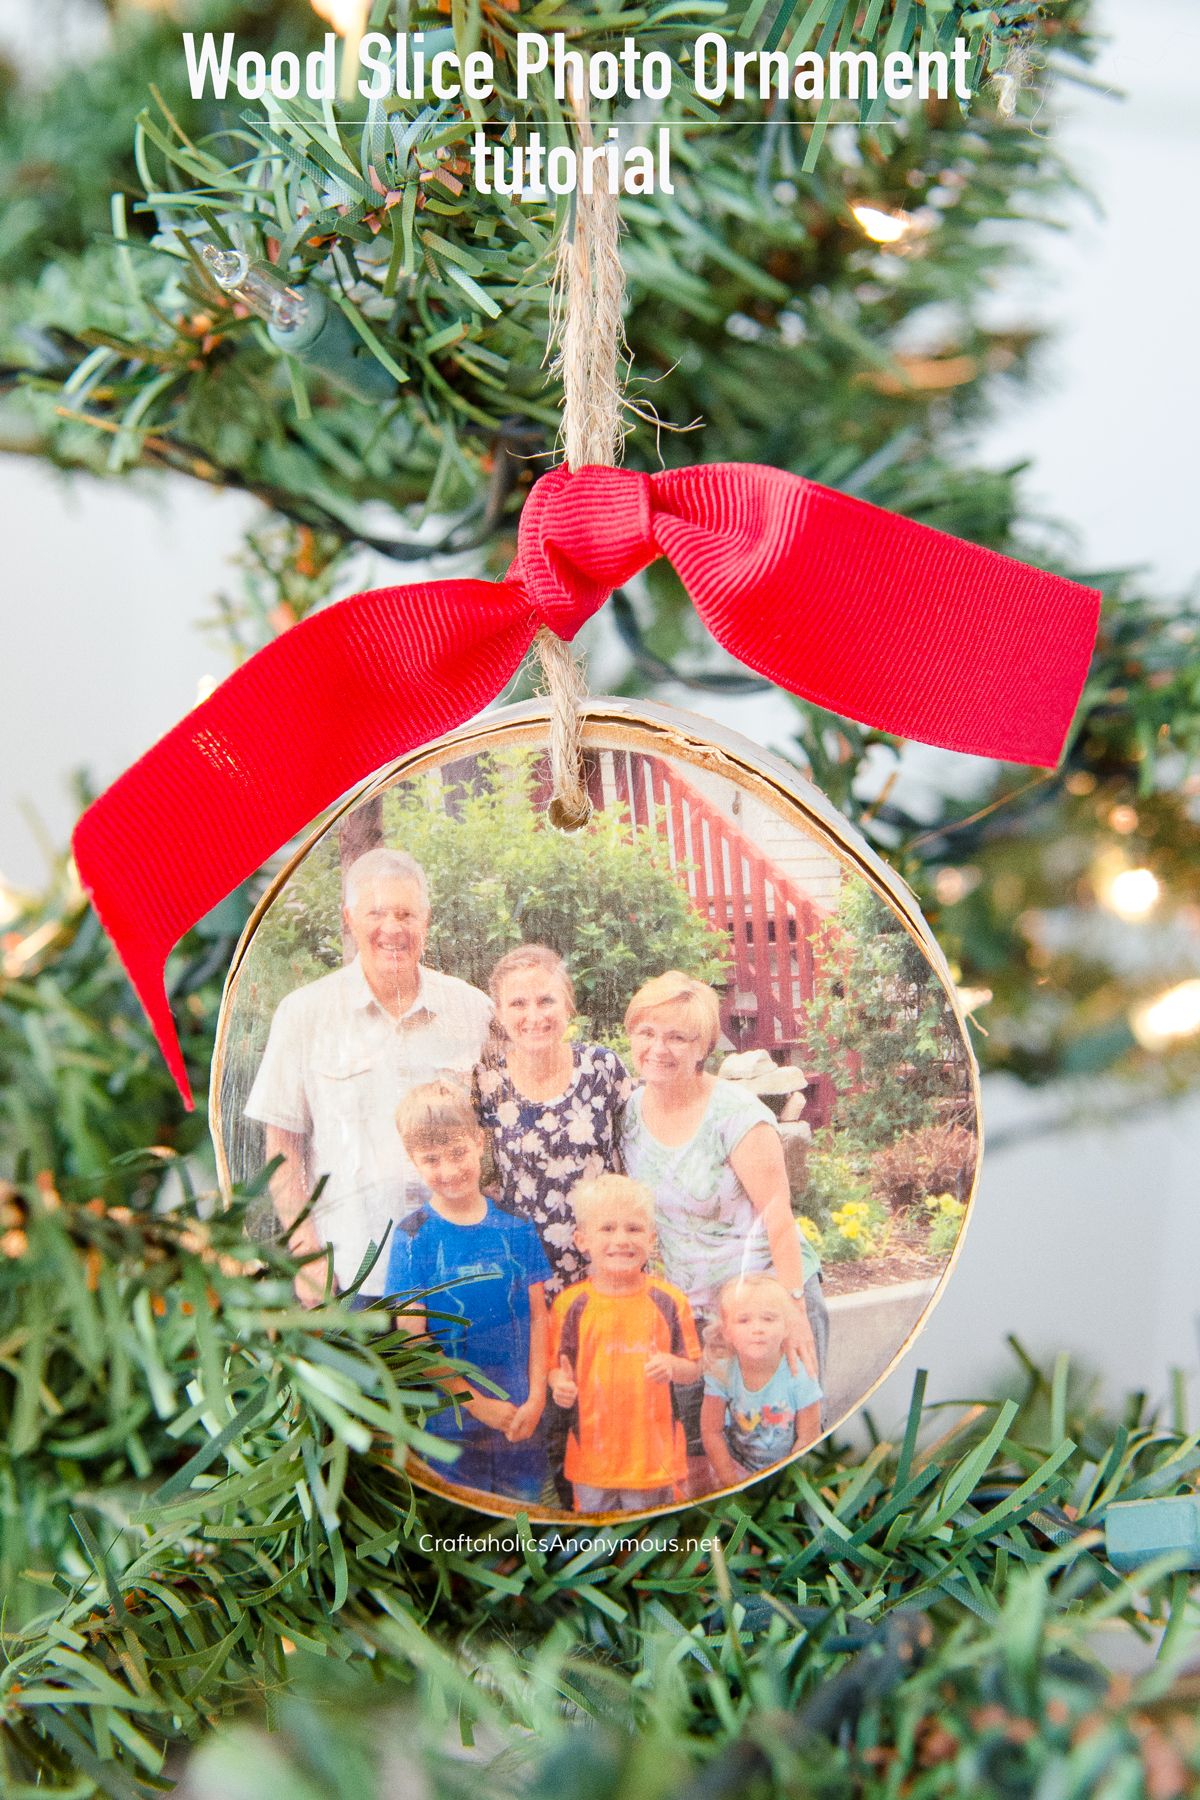
Original maker and photograph: Linda, Craftaholics Anonymous. Open the original tutorial
Linda’s photo ornament at Craftaholics Anonymous transfers an image onto a wood slice rather than simply pasting a paper print on top. That gives it a different finish from the mini-album, and it makes a small seasonal gift around one well-chosen picture. The tutorial uses water-transfer paper and gives its own product’s soaking process. I’d check the instructions for your current paper and printer before printing several images, because those requirements are product specific. Choose a photo whose subject fits inside the round slice, leaving space near the hanging hole. Let the transfer and finish dry before adding the hanger.
Key supplies: A smooth wood slice, printer-compatible water-transfer paper, printed photo, decoupage medium, drill and hanging twine.
13. Refillable leather sketchbook
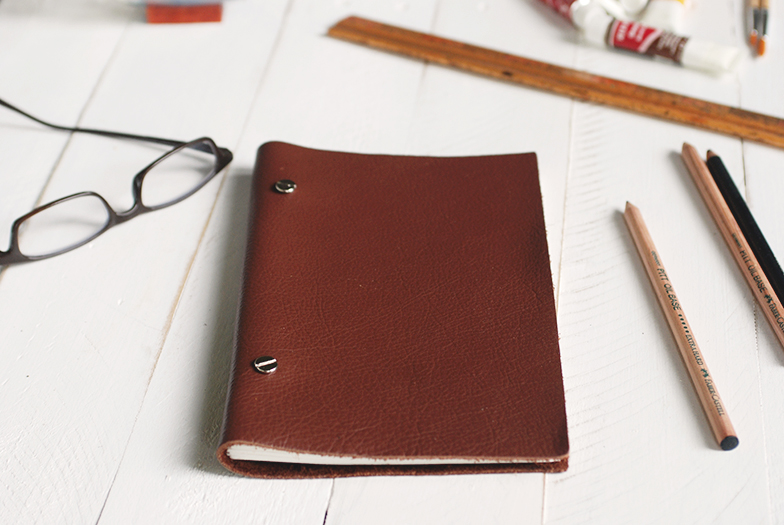
Original maker and photograph: Manda, The Merrythought. Open the original tutorial
Manda’s leather sketchbook at The Merrythought is held together with screw-in album posts, so used pages can be replaced. That makes it a distinct choice from a glued notebook and a useful gift for someone who sketches or takes notes by hand. I’d choose the paper first, then size the cover around it and check the stack against the posts’ capacity. The original shows how to align holes through the leather and pages. Accuracy matters more than extra decoration: misaligned holes make refilling awkward. Use the recipient’s preferred paper type if you know it, rather than making the cover the only decision.
Key supplies: Leather, sketch paper, album posts, a leather punch and a paper cutter.
14. Painted hanging corkboard
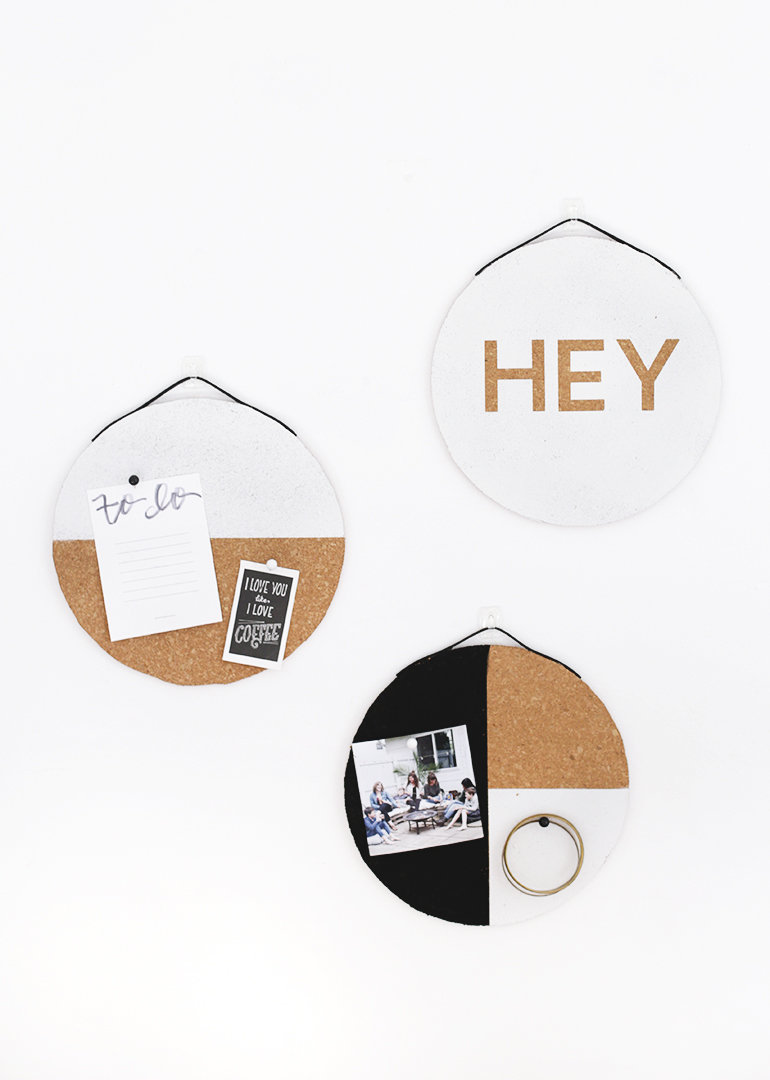
Original maker and photograph: Manda, The Merrythought. Open the original tutorial
Manda’s hanging corkboards at The Merrythought combine a cut cork shape with masked paint and a loop of leather lace. They suit someone who displays small notes or photographs, provided the recipient has somewhere to hang one. I’d keep the painted area away from the main pinning space and choose a message they will still want after Christmas. The original explains the masking and glued edge attachment. Let the paint dry as directed before removing the mask or wrapping the board. Treat the glued hanging loop as a light-duty attachment, and check the completed board with its intended small paper load.
Key supplies: Corkboard, a circle template, craft knife, paint, tape or letter stickers, leather lace and hot glue.
15. Wood-backed wall notepad
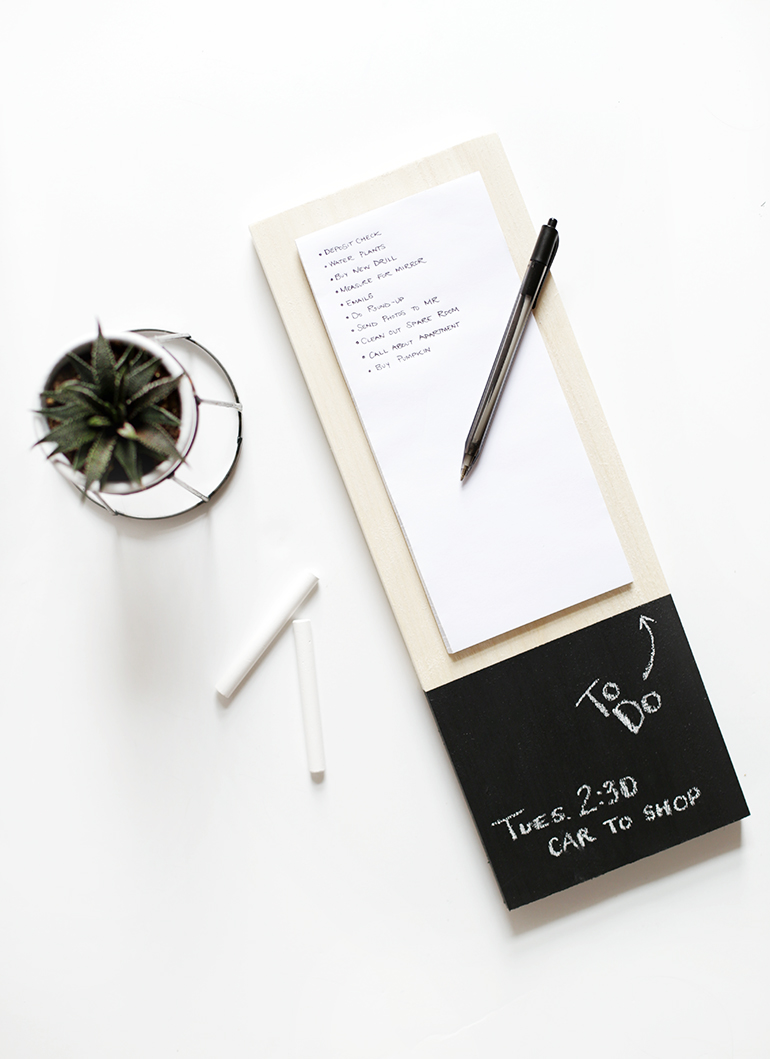
Original maker and photograph: Caitlin, The Merrythought. Open the original tutorial
Caitlin’s wall notepad at The Merrythought pairs a removable pad with a painted reminder area below it. It is a good fit for someone who likes visible lists, but it needs an agreed place on the wall. I’d ask about that space before making a gift that requires installation. The original uses hook-and-loop fastening so the pad can come off for writing, then return to the board. Measure the actual pad before laying out the fastener and painted section. Include mounting information appropriate to the recipient’s wall, rather than treating the wood’s drilled holes as a complete mounting system.
Key supplies: A wood board, notepad, hook-and-loop fastener, chalkboard paint, drill and wall-mounting hardware.
16. Wooden twine dispenser
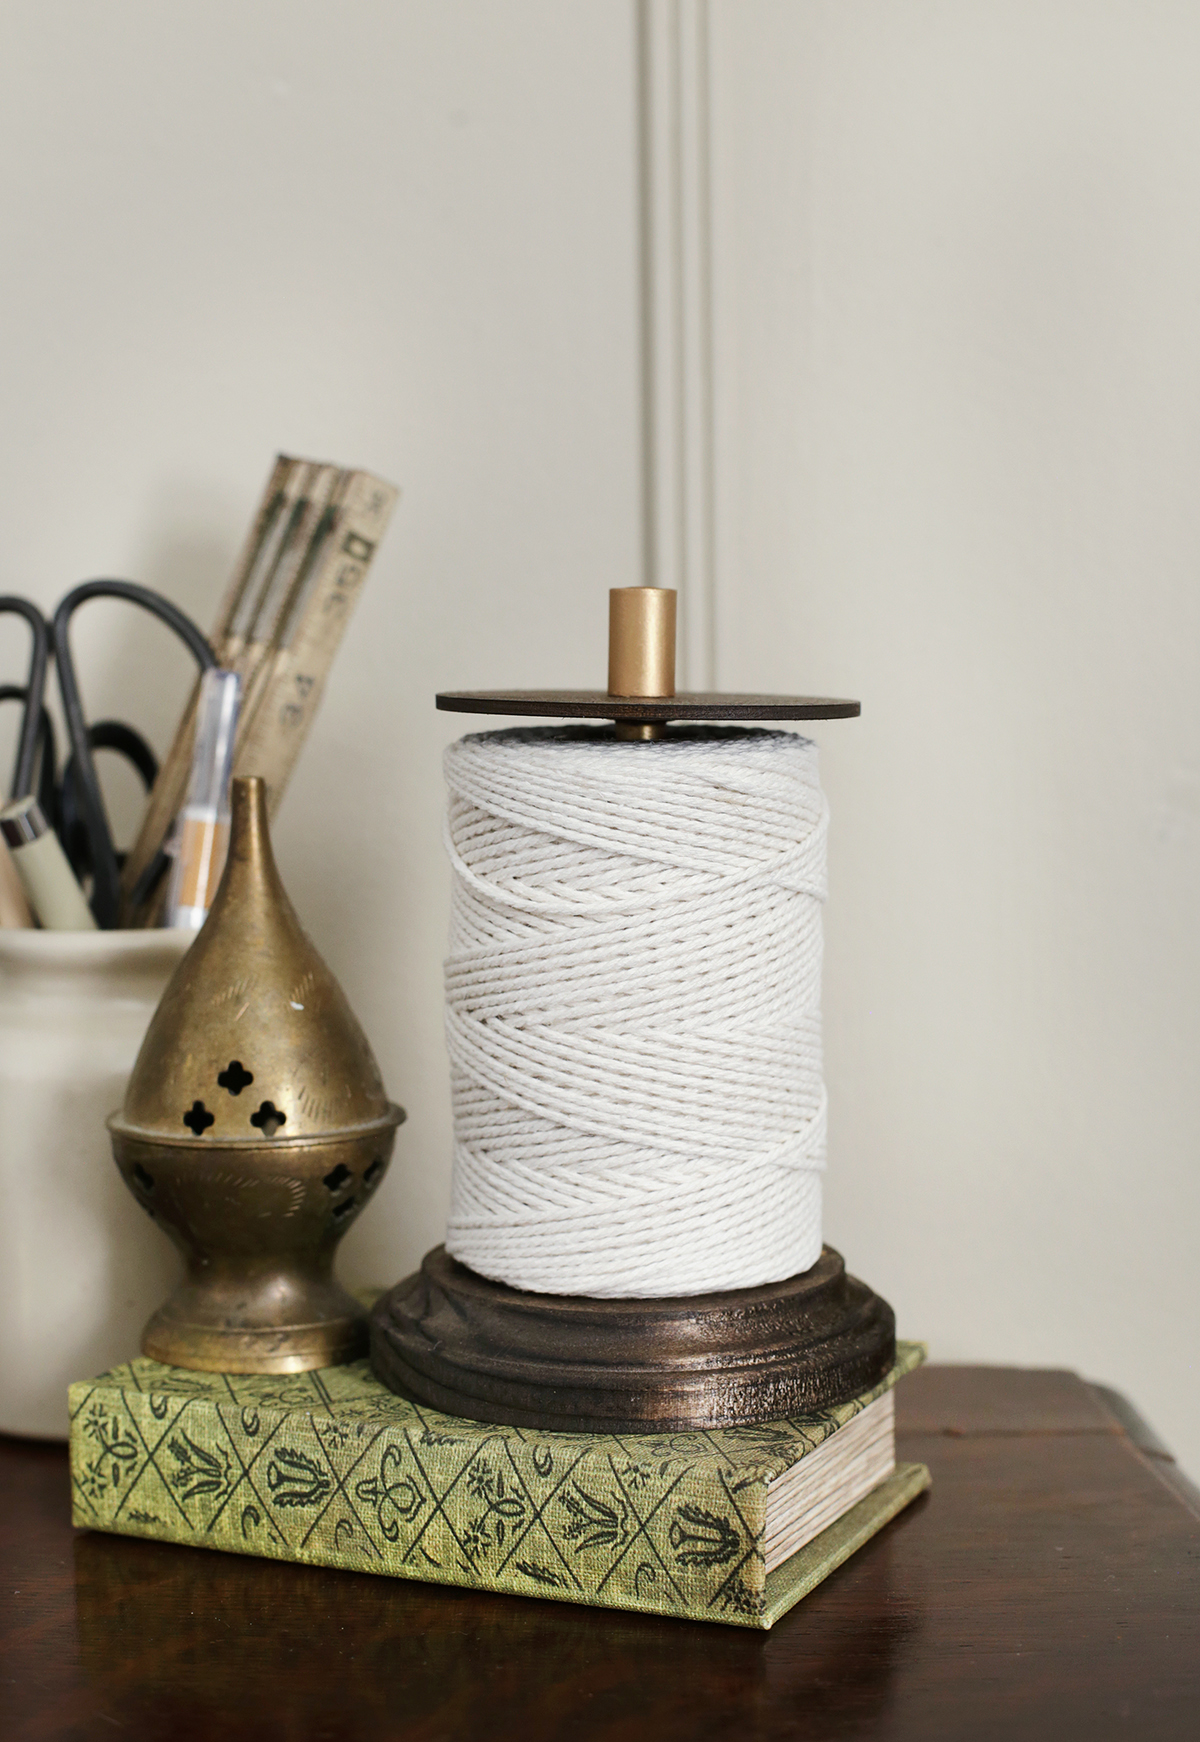
Original maker and photograph: Caitlin, The Merrythought. Open the original tutorial
The Merrythought’s twine holder gives a wrapping or craft station a dedicated place for a spool. It uses wood components and a lamp stem, so check those parts against the twine you intend to include before assembly. I’d choose this for someone who already reaches for twine, rather than giving a useful-looking organizer they have no reason to use. The maker’s step-by-step construction is in a video; watch the whole process before buying the hardware. Follow the stain and adhesive instructions, including cure time, and check that the spool turns and feeds without rubbing against an awkward edge.
Key supplies: Wood plaque and disc, lamp stem, drill, stain, adhesive and a spool of twine.
17. Leather earbud cord wrap
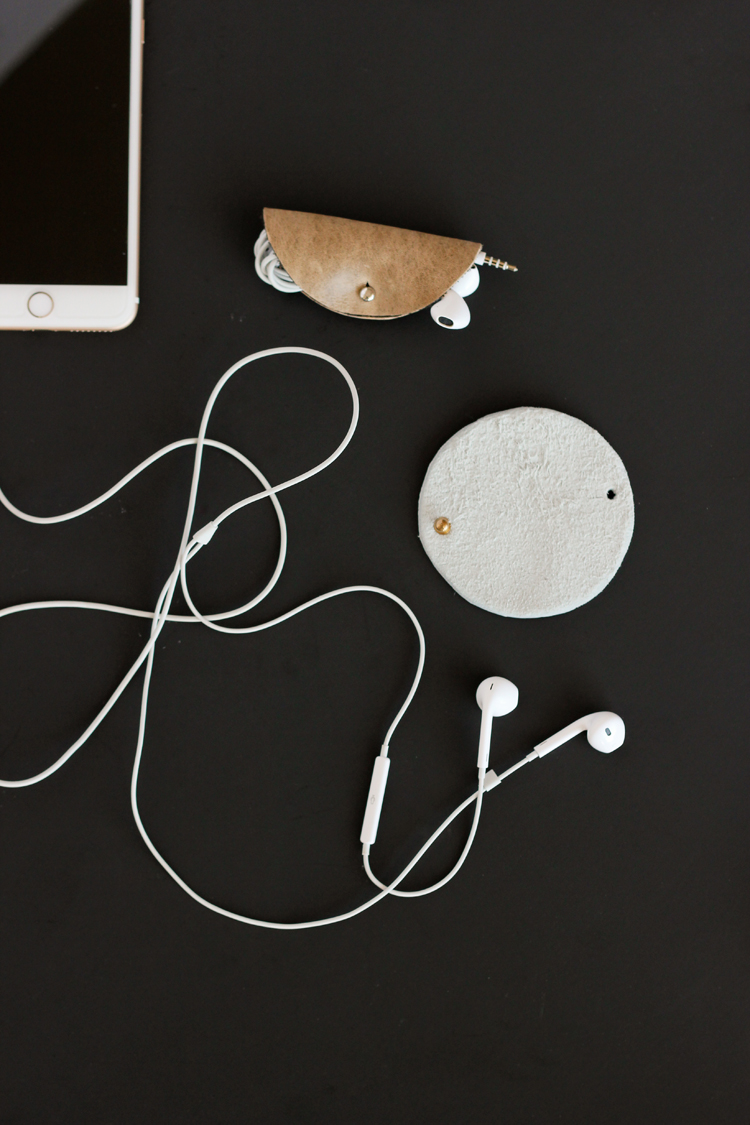
Original maker and photograph: Delia, Delia Creates. Open the original tutorial
Delia’s small leather wrap folds around a coiled earbud cord and fastens with a button stud. It is meant for thin cords, so it suits someone who still uses wired earbuds or another similarly light cable. The original points to a different construction for thicker cords. I’d check the recipient’s actual cord before choosing this version. Watch Delia’s short video for the hole and slit placement: an oversized slit can let the stud slip out. A scrap test helps you judge the closure without spoiling the final piece. Coil the cord loosely rather than making sharp bends at its connectors.
Key supplies: A leather scrap, button stud, sharp scissors, leather punch and a small craft blade.
18. Brass-and-wood ring holder
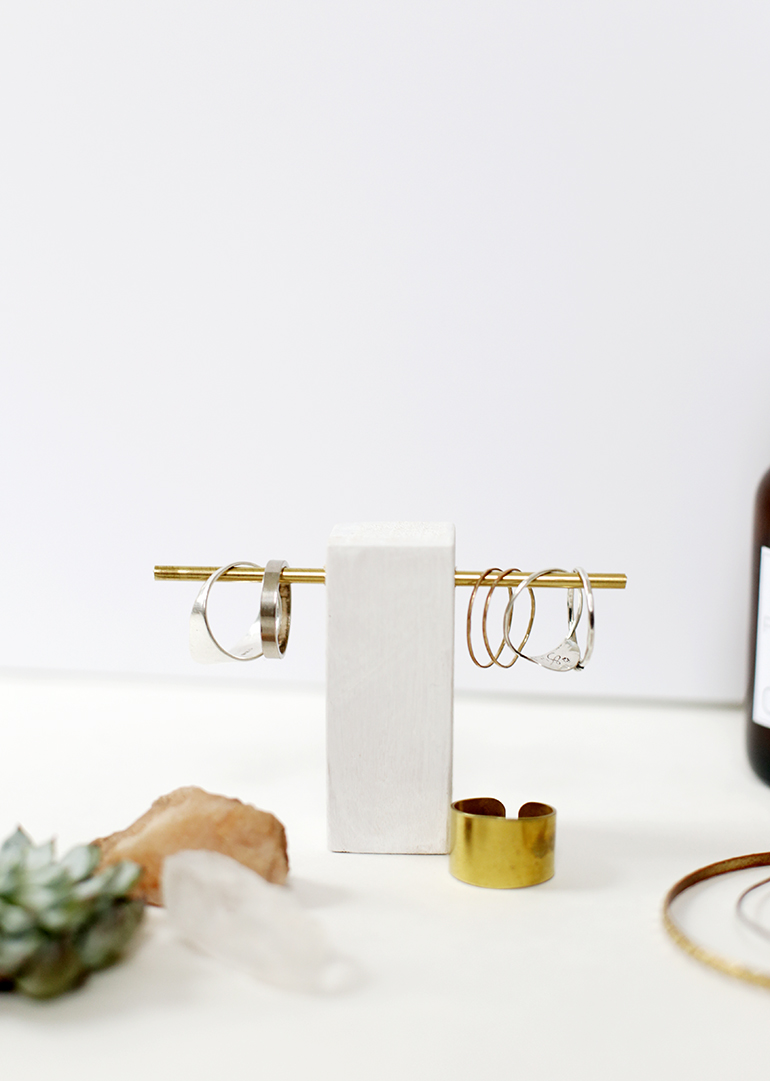
Original maker and photograph: Caitlin, The Merrythought. Open the original tutorial
Caitlin’s brass ring stand at The Merrythought uses a horizontal brass crossbar through an upright wooden block. It is a compact gift for someone who takes rings off at a desk or bedside, rather than a full jewelry organizer. I would check the cut tube ends for rough edges before putting jewelry on them. The original video explains the drilled connection and tube preparation. Check that the stand sits level and that the intended rings fit over the crossbar comfortably.
Key supplies: Square wood dowel, brass tube, drill, tube cutter, ruler and optional paint.
19. Mini tabletop sand garden
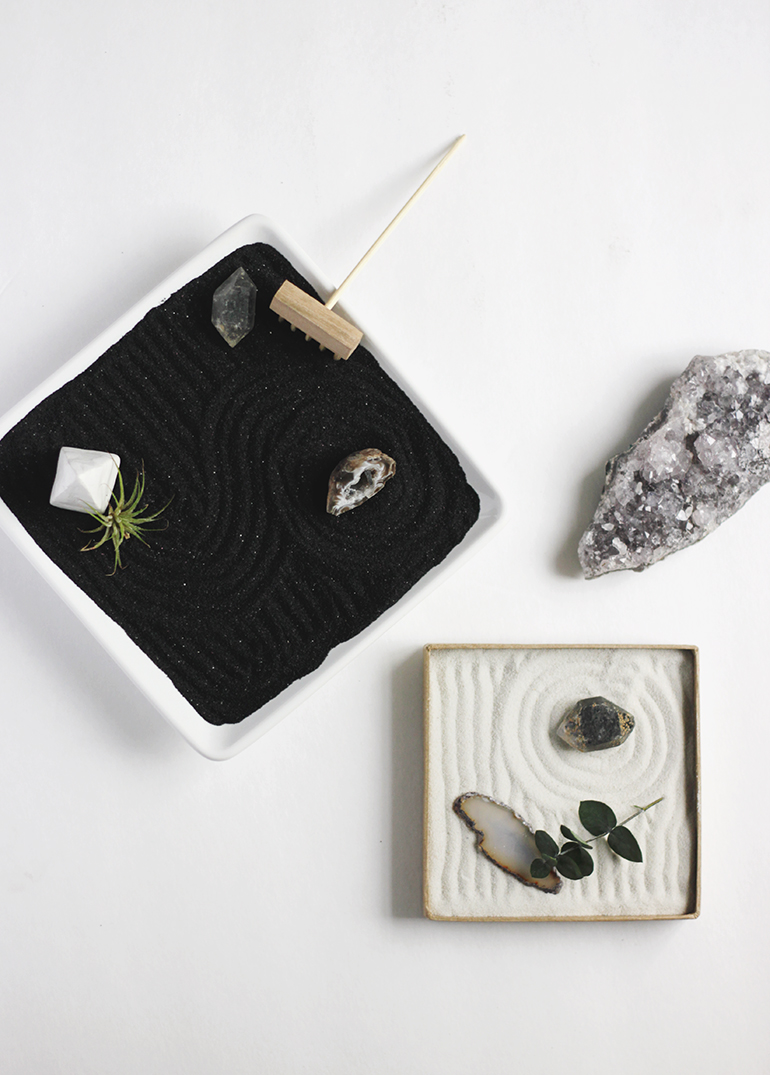
Original maker and photograph: Caitlin, The Merrythought. Open the original tutorial
Caitlin’s miniature sand garden at The Merrythought is an arrangement project in a shallow dish, with a small rake made from wood and skewers. The finished gift suits a stable desk with room for an open tray. I’d leave out live plants unless the recipient wants their care needs, and I would not promise that this object has a health benefit. The original supplies the arrangement idea and a brief route for the rake. For transport, pack the sand and loose pieces separately so the gift does not spill inside its wrapping, then include a simple note about assembling the tray.
Key supplies: A shallow dish, sand, stones, optional decorative pieces and a miniature rake.
20. Wooden mushroom planter picks
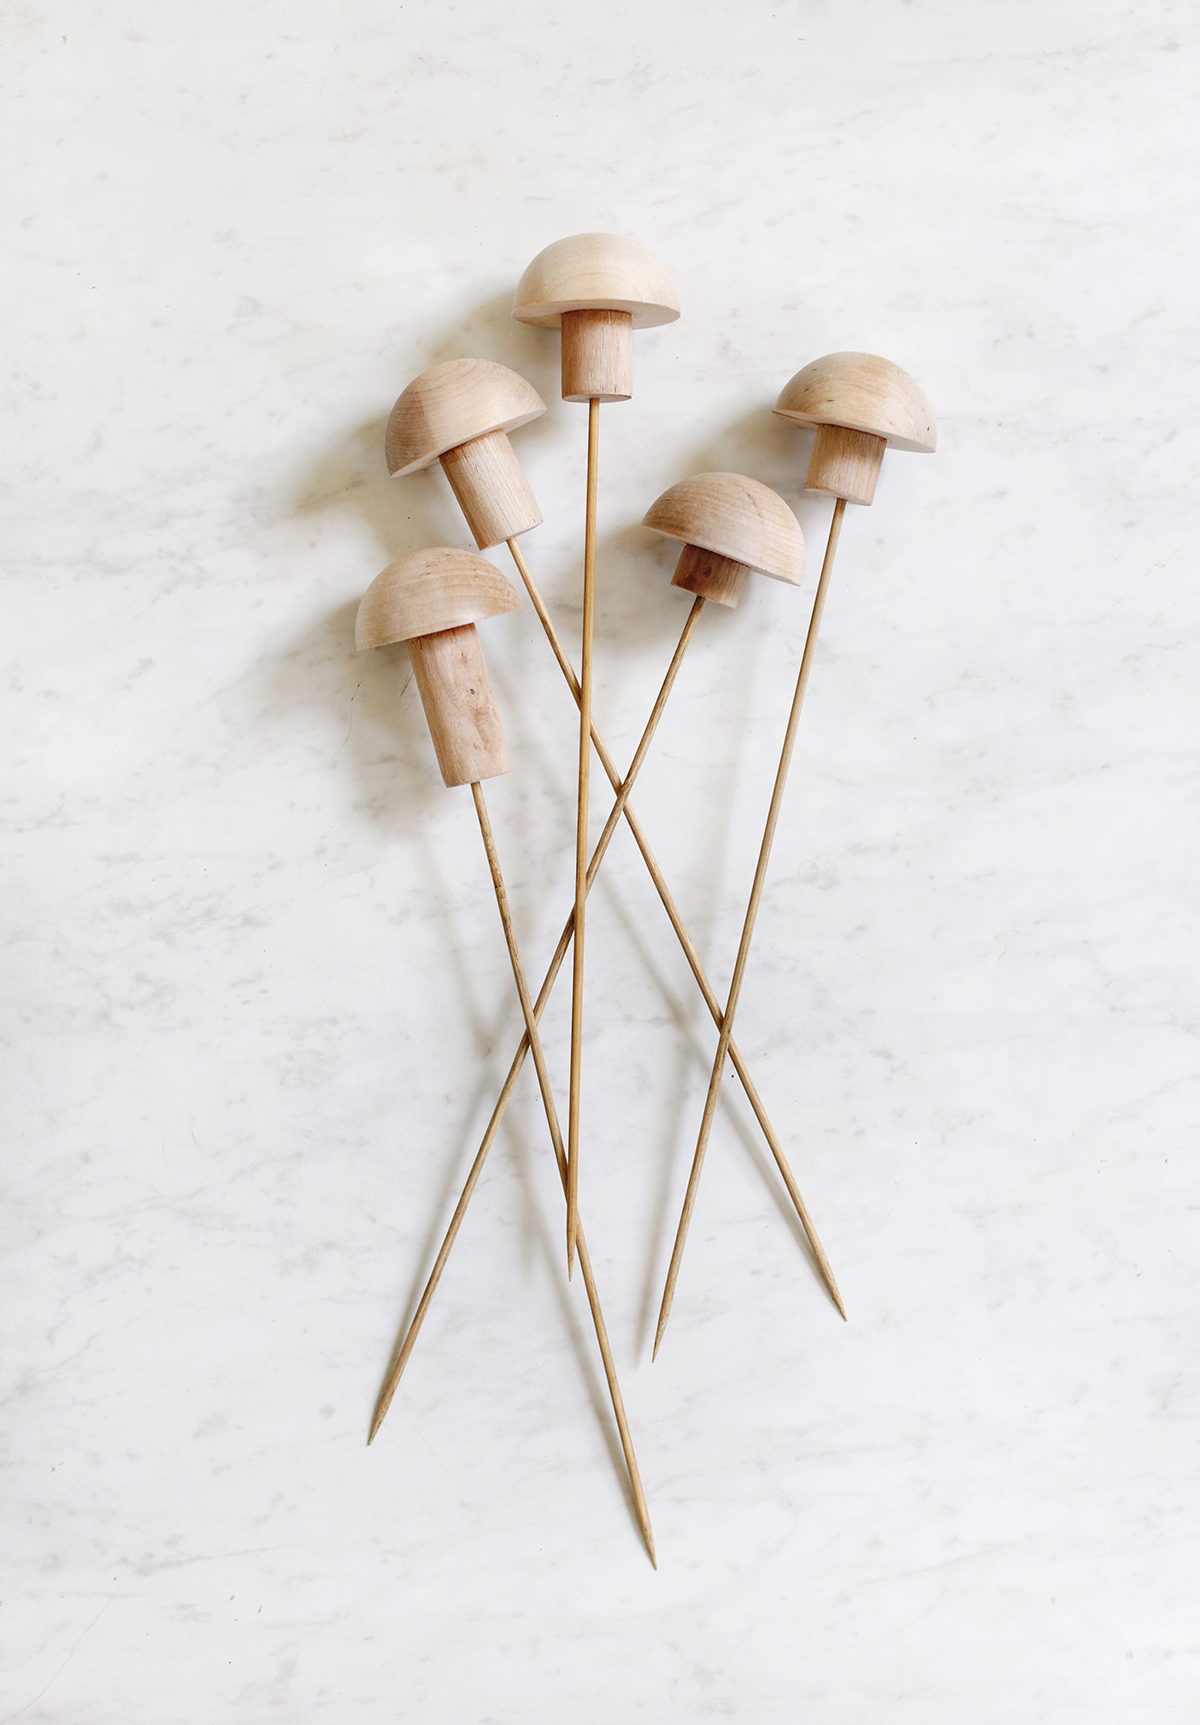
Original maker and photograph: Caitlin, The Merrythought. Open the original tutorial
The Merrythought’s mushroom picks turn small wood shapes into decorative accents for a planter. They make sense for a plant lover who enjoys ornaments among the leaves, but they are a cutting-and-drilling project rather than a paper craft. I’d watch the original video before buying the half rounds and dowel so the sizes work together. Smooth the cut edges and check the glued joins before packaging. These are decorative mushrooms, not labels for edible varieties. Include them loose with a plant rather than pushing pointed skewers into a wrapped pot where they could catch the packaging or an unexpected hand.
Key supplies: Wood half rounds, dowel, wooden skewers, saw, drill, sandpaper and wood glue.
21. Wooden floral stem holder
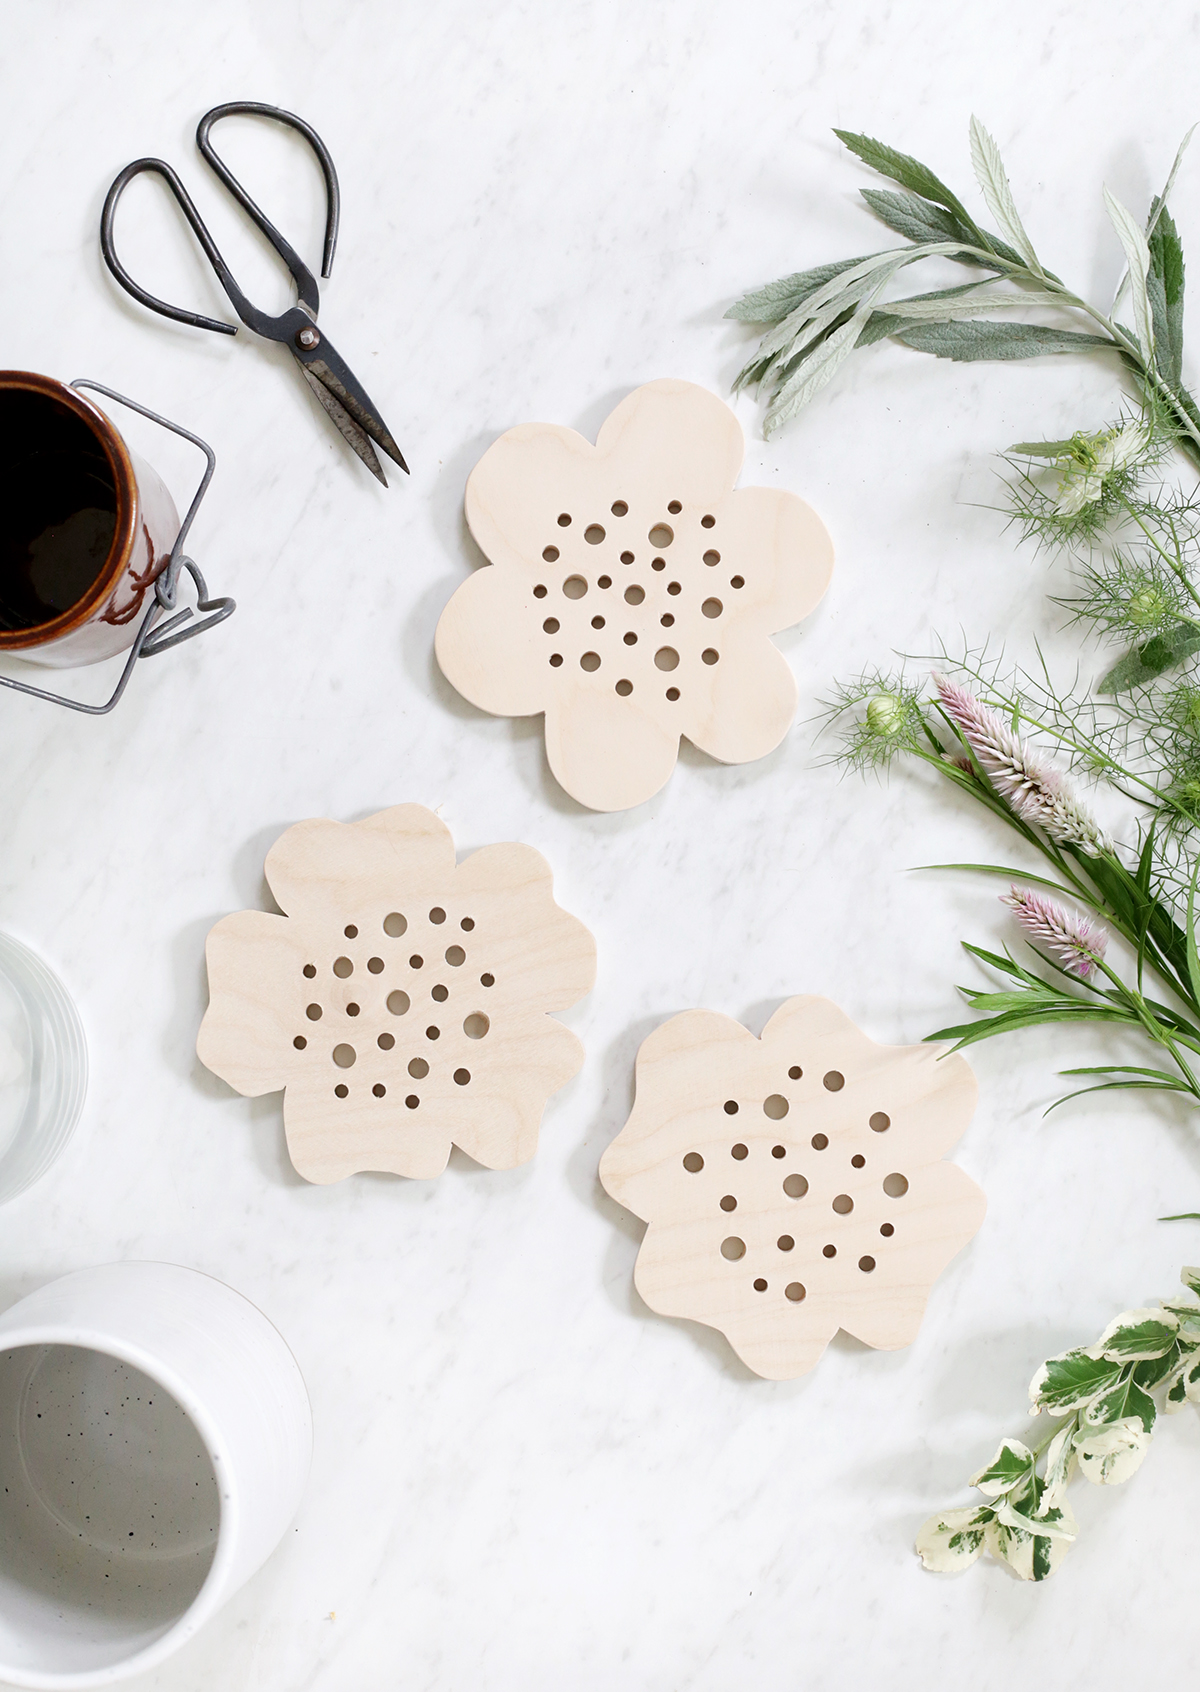
Original maker and photograph: Caitlin, The Merrythought. Open the original tutorial
The Merrythought’s wooden stem holder rests over a vessel and separates flower stems through drilled holes. It is useful for someone who likes arranging a few flowers but does not need another large vase. I’d choose and measure the jar first, then follow the original video to fit the wooden top to that opening. Check that the piece sits securely and that holes are smooth enough not to scrape stems. The tutorial includes polyurethane, so follow its instructions and allow the stated cure time. Keep the distinction clear: the jar holds the water; this wooden piece organizes the stems above it.
Key supplies: Birch plywood, a jar or vase, saw, drill, sandpaper and suitable wood finish.
22. Pocket tic-tac-toe tin
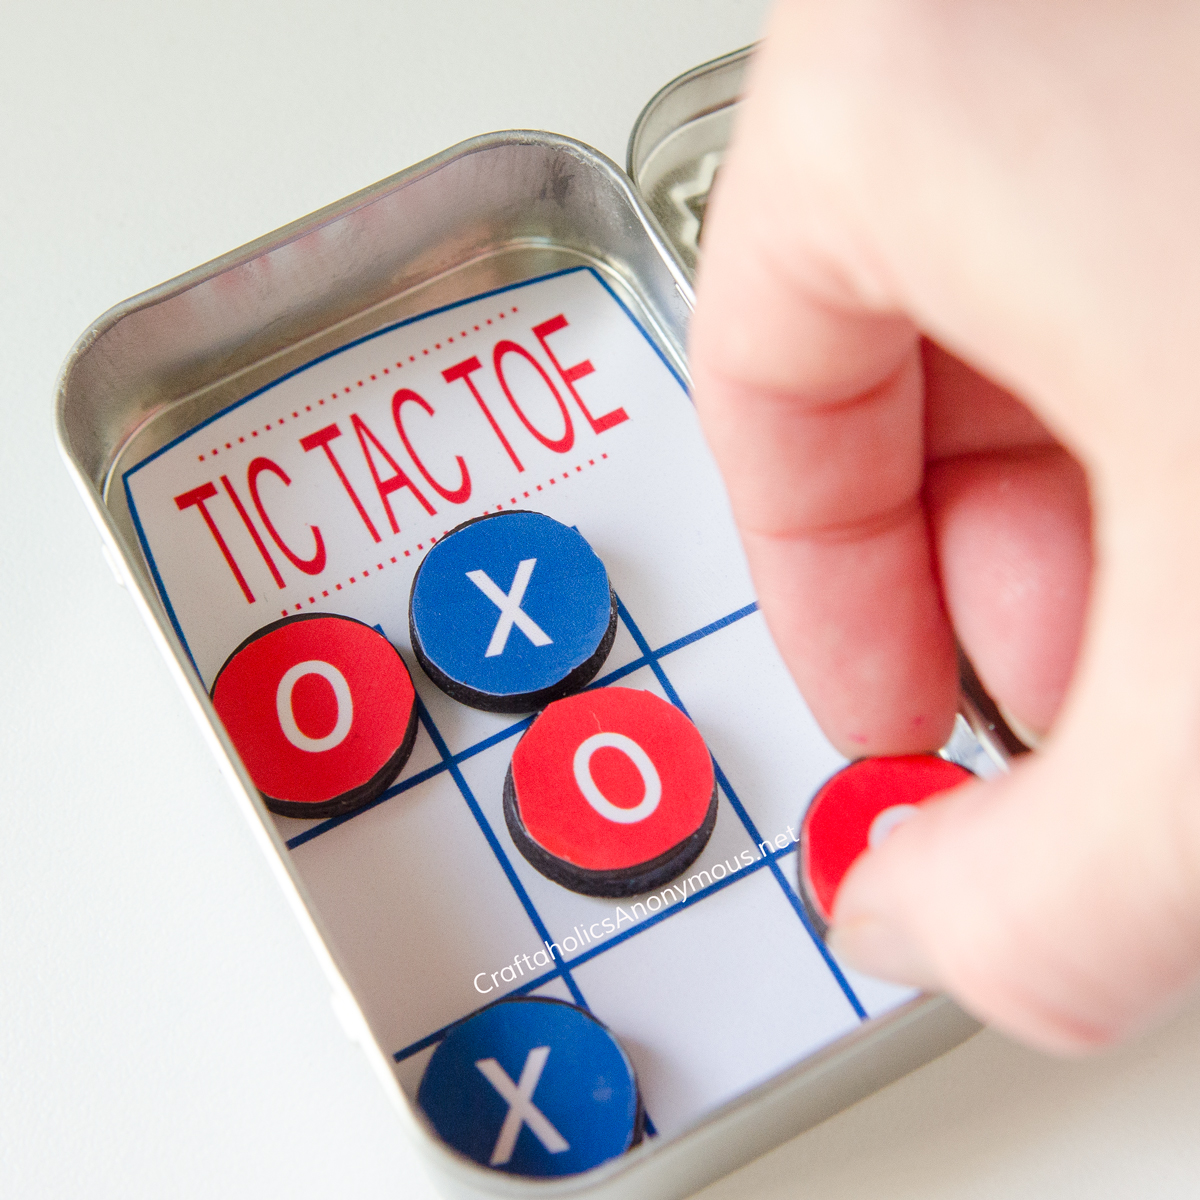
Original maker and photograph: Linda, Craftaholics Anonymous. Open the original tutorial
Linda’s pocket game at Craftaholics Anonymous stores its board and magnetic pieces inside a small tin. It is a self-contained gift for an adult who can safely manage small pieces, with a different construction from the paper bookmarks and album. The original supplies the printable and shows the decoupage assembly; open it to check the file and the fit against your actual tin. I’d choose another game for a household with small children who might reach the magnets, since swallowed magnets can cause serious injury. Let the finish dry fully, then count all ten playing pieces before closing the gift.
Key supplies: A small metal tin, the maker’s printable, paper, decoupage medium and ten small circle magnets.
Christmas gift baskets and boxes
23. Herb-starter gift basket
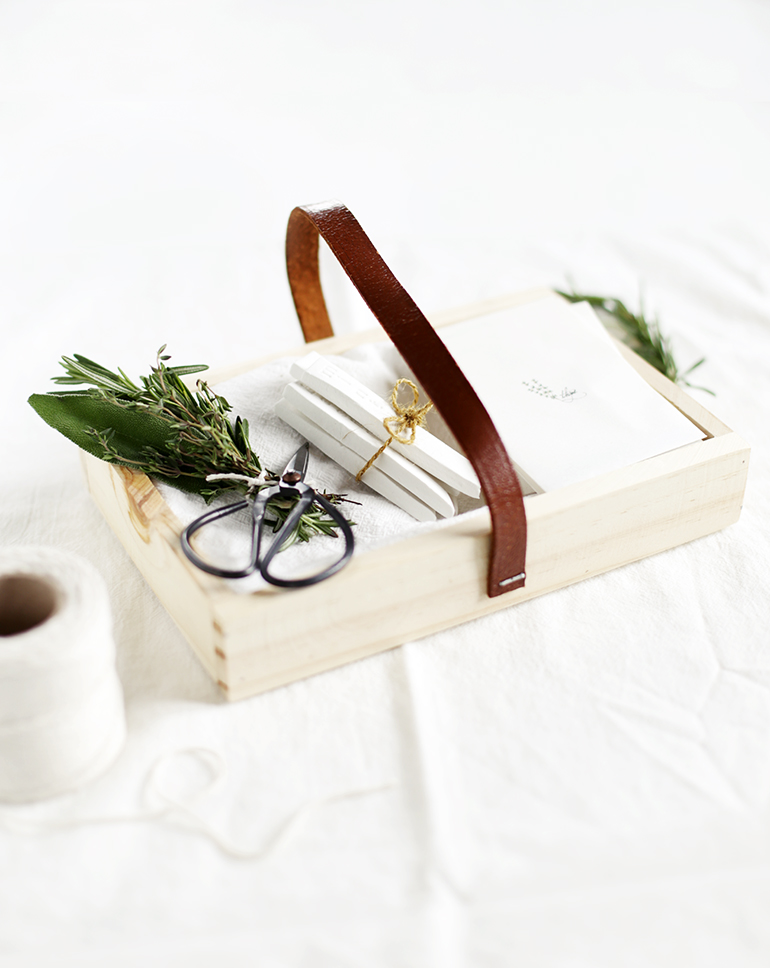
Original maker and photograph: Manda and Caitlin, The Merrythought. Open the original tutorial
Manda and Caitlin’s herb kit at The Merrythought combines stamped clay plant markers with seeds and gardening supplies in a lined wooden box. This is the most hands-on of the three basket-style gifts here because you make the markers as well as arrange the contents. I’d keep seeds in their original labeled packets so the planting instructions and variety names stay with them, even though the source also shows repackaged seed bags. Follow your clay’s drying or curing instructions. Check its suitability before promising outdoor durability. Choose herbs for the recipient’s light and growing space, not just the packet artwork.
Key supplies: A small wooden box, linen, seed packets, clay, letter stamps and optional small gardening supplies.
24. Student stationery gift basket
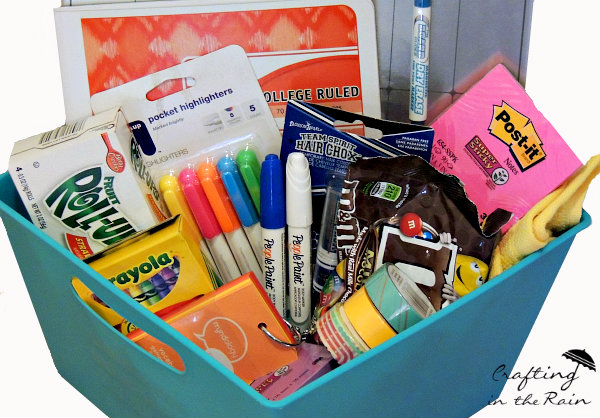
Original maker and photograph: Steph Paxman for Craftaholics Anonymous. Open the original tutorial
Steph Paxman’s student basket at Craftaholics Anonymous is a hand-assembled care package rather than a tutorial for making the supplies. Its useful idea is the arrangement: larger pieces support the back while smaller pieces stay visible at the front. I’d choose a few supplies the recipient actually uses and add a handmade corner bookmark from idea 4 if you want a crafted element. That bookmark is an optional addition here, not part of the source photograph. Adjust the contents for the person, and leave out school-color extras unless you know they want them. A modest container prevents a small gift from disappearing inside a large hamper.
Key supplies: A basket or box, notebooks, pens or highlighters, sticky notes and selected study supplies.
25. Favorite-things gift box
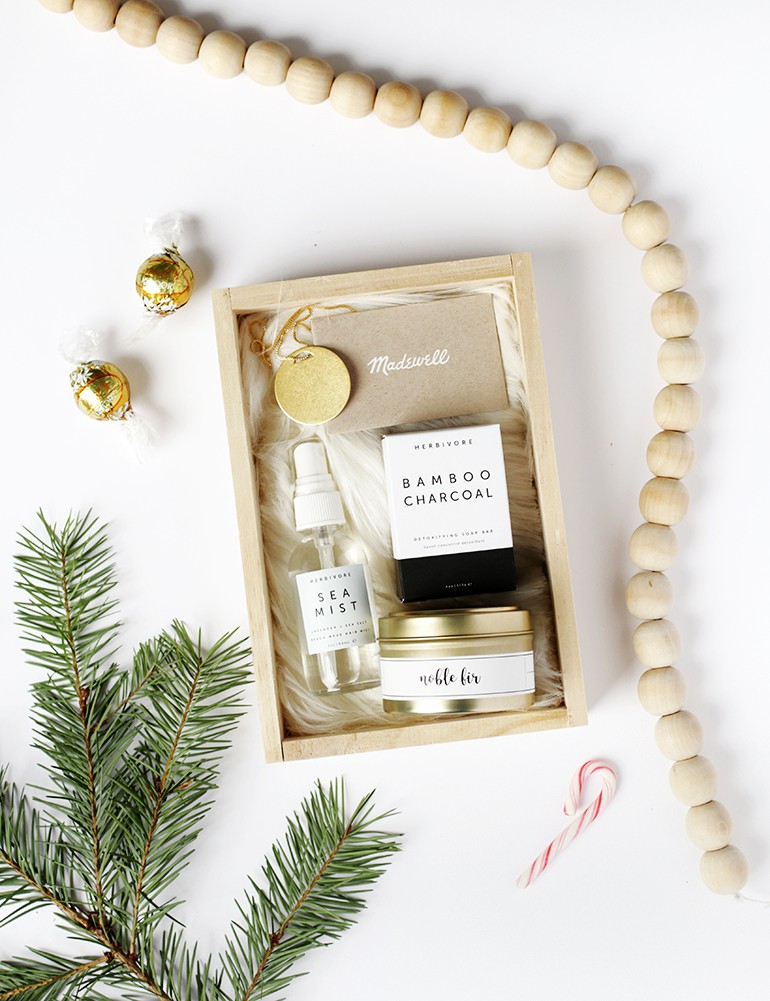
Original maker and photograph: The Merrythought. See the original gift idea
The Merrythought’s favorite-things box is a Christmas gifting example built around a small group of chosen items. It is inspiration for a basket-style assembly, not instructions for making the purchased objects in the photograph. I’d narrow the contents to one shared interest and include a handmade piece from this page, such as the keyring or a photo mini-album, rather than copying old branded shopping links. That is our adaptation; the original photo shows the makers’ own selection. Use separate wrapping around anything that might leak or mark another item, and keep edible items in their labeled packaging.
Key supplies: A small box, protective paper and a few personally chosen small gifts.
Finish the gift before you wrap it
A useful gift should be ready to use when it is opened. Remove loose threads, check that paper joins are dry, and clear away glue strings or cutting marks. Let finishes cure according to their labels before wrapping them, even if the surface already feels dry. Do not add a care claim unless it is supported by the materials and the original tutorial.
Use a paper band or a small box for flat gifts so the shape stays clear. Support a basket underneath instead of making its handle carry the weight. Add a short note explaining what the item is and how to care for it. Include the ingredient list with edible gifts and check the recipient’s relevant allergies rather than guessing.
For a gift that will hang in someone’s home, our DIY Christmas wreath ideas include different bases and attachment methods. For a bead-loving recipient, explore the different materials in our bead crafts collection before choosing a project. A Christmas theme can come from the wrapping; the handmade object can stay useful after December.
Questions before you start gifting
Which DIY Christmas gifts are easiest to make in a batch?
Choose one repeatable design with materials you can cut together. Paper corner bookmarks work well because the folds repeat and the basic version needs no adhesive or drying. Finish one first, then cut the remaining squares and fold them in small groups. Batch size still depends on your available time and folding speed.
How can I make a small homemade gift feel finished?
Check the fit, trim loose ends and include a short note. Use packaging that supports the shape rather than hiding it under lots of decoration. A set of bookmarks in a paper sleeve or a beaded keyring on a small card makes the purpose clear.
Can I swap supplies in these projects?
Check what the material does before substituting. Heavy cardstock makes origami pockets hard to tuck; larger cord needs larger bead holes; thick photo decorations stop an accordion album closing. Make a sample with the actual substitute and keep material-specific advice from the linked maker’s tutorial.
Made it? Tell us how it went